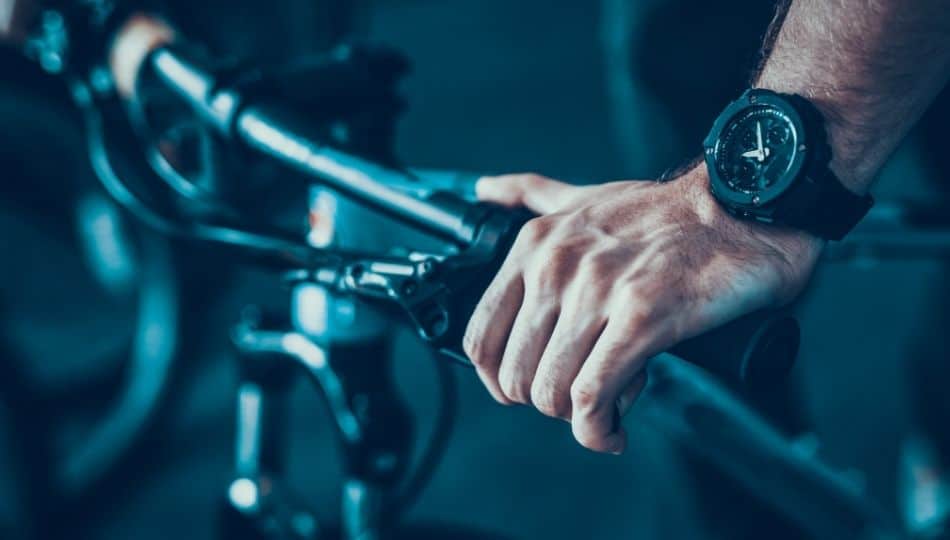
Bikes are great options for getting around, whether you want one for your commute or one to enjoy great adventures on. You need a bicycle that’s going to work perfectly for you, but sometimes your perfect bike doesn’t have the best handlebars. Fortunately, you can change the handlebars on a bike to get exactly what you are looking for.
Changing handlebars can be very easy, only taking these steps:
- Getting your tools together
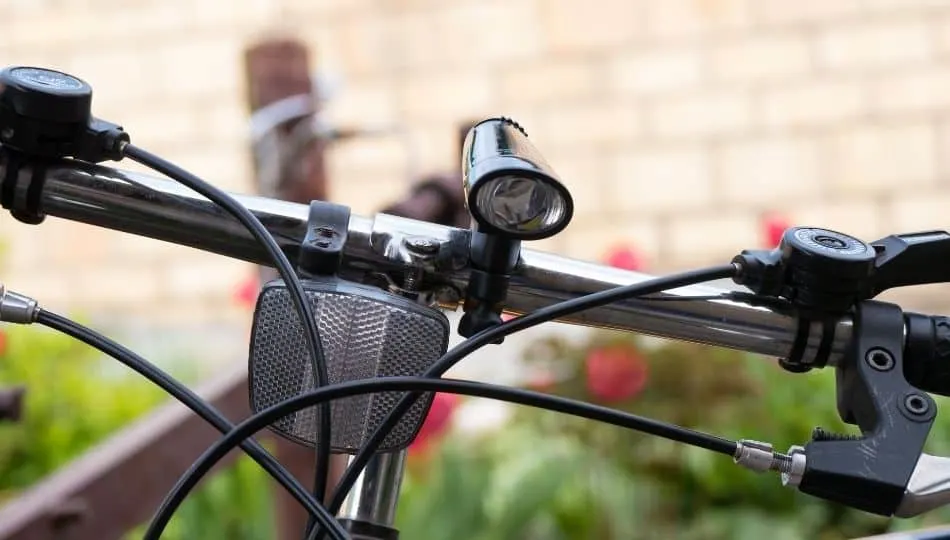
- Detaching the brake cables from the brakes
- Removing the old brake and grip tape from one handlebar
- If you have an older bike with a quill stem, loosen the screw located on the front of it.
- Slide handlebars off
- Slide on the new handlebars
- Take the brake cable and set it through the housing, trimming it.
- Connect brakes to handlebars
Changing handlebars on a bike is a much easier process than you may think. By reading on, you can learn all about changing handlebars as well as how to select the perfect handlebars for your needs.
How Do You Change Handlebars on a Bike?
There are different approaches to changing handlebars, depending on the handlebars and the type of bike that you have. Here, you can get a look at 2 different approaches, one for drop bars and the other for flat bars.
Installing Drop Bars
Before you get into the process of changing the handlebars, you need to be aware of a couple of things. First of all, when you buy new handlebars, you need to be sure that the bar diameter and stem clamp diameter match the current setup. You don’t want to get handlebars that don’t fit your bike. It’s also important to have the right tools, including an Allen key, wrench, and screwdriver.
Here are the steps of changing drop bar handlebars:
- Remove the Handlebars
It can be a good idea to take a picture of the handlebar before you remove it, as you can use this for future reference in the process. It’s also recommended at this point to measure the positioning of the handle and other components.
- Start by pulling the lever hoods forward, then remove the plugs at the end of the bar.
- Unwrap the tape.
- Carefully cut away any other tape that you find that is holding everything in place and remove it.
- Loosen up the mounting bolt so that you can remove the lever.
- While holding the handlebars, loose up the bolts in the stem so that you can remove the bar. If your bike has a removable faceplate, this will need to be removed first.
- Remove handlebar
If you are having issues removing the handlebar, there are a couple of things that you can try to help.
- Try to remove the bolt in the compression slot. You can use a tool like a pry bar (are something similar) to use it as a lever that will expand this slot. It’s important that if you take this approach that you do so carefully. If you put too much force into this process, you could damage the stem and have a more expensive issue on your hands.
- There’s also the option to thread your bolt in backwards, then insert some coin (like a penny) into the compression slot. This bolt will find itself against the coin, pushing open this slot. (This might not work with all stems.)
- Install the Handlebars
You can start off by applying threadlocker or grease to the bolt threads in the faceplate. Then you move onto these steps:
- Install your new handlebar into the bike stem.
- If the stem has a removable faceplate, you need to partially tighten the bolts for the faceplate to the point where the gaps are equal on the top and bottom. If the stem has compression slots, use grease on the bolt and then install it without fully tightening it.
- Next, slide the levers on without completely tightening them.
- Put the bike down on the ground and ensure that the handlebars are centered on the stem.
- Adjust the bar roll and lever position. This is where the previous pictures and measurements can be useful.
- Be sure that the lever position is even on both sides. You can use a level if you have one big enough, or you can just use a long stick from a broom or other similar item to gage evenness.
- Put the faceplates and bolts in place without fully tightening them.
- Set yourself up on the bike to feel out your new setup, adjusting anything as needed to get it perfect.
- Now it’s time to tighten up the faceplate bolts and using the necessary torque to get it perfect. If you have a compression slot, just snug the bolt and torque it.
- Make sure all of the housing is secure, using strapping tape if needed to secure it.
- Rewrap the handlebars.
Installing Flat Bars

The process starts off in the same way. You need to make sure that your new handlebars match the stem clamp diameter.
- Removing the Handlebars
Again, it’s a good idea to take measurements and pictures prior to removing the handlebars to refer to at the end of the process.
- Remove the grips, shifters, brakes, and anything else that may be attached to the bar.
- Most bikes these days have removable faceplates. You start by loosening the bolts to this faceplate evenly and then remove the bike’s faceplate and its bar. Be sure that you’re holding the bar when doing this, otherwise it will just fall to the floor. After the bar has been removed, remove any wiring for the electronic shifting system if you have one. If you have a compression slot stem, you just need to loosen the bolt and slide out the bar.
- Installing the Handlebars
If the bar has internal routing, you can use a tool like the Park Tool IR-1.2 to route your cables through your new bar when it’s time to.
- Before any installation, make sure that you wipe all of the components clean.
- Apply threadlocker or grease to the bolts.
- If your bike has a removable faceplate, you start by putting the bar in the stem. Then you put the faceplate on with a bolt, without tightening the bolts too much. It should just be tight enough to hold the bar in place and so that there is an even gap at the top and bottom. If you have a compression slotted stem, you need to put the bar in and then thread in the bolt just tight enough to hold the bar up.
- Now that the bar is attached, you can set the bike down on the ground to make sure that the bar is centered.
- Set your bars to your preferred amount of roll.
- With faceplate stems, you will now torque and tighten the bolts on the faceplate to the proper specifications. You should do this incrementally to ensure that you get it right. With compression slots, you just need to tighten and torque the bolt.
- Now you can reinstall the grips and other components of the bike handlebars. Using the pictures and measurements you took at the beginning of this process can be very helpful here.
How Much Does It Cost to Change Handlebars?
This answer depends on your approach. If you went to a bike shop to change out the handlebars, this could cost you around $40, on top of the cost of the handlebar purchase. That’s just the average price. Some places charge more or less per hour, depending on how much they charge per hour.
However, as you can see, this is a pretty easy task to take on by yourself. You can save yourself a lot of money or take that money to invest in really good handlebars. The only other expenses that you might have is if you don’t have the right tools to complete this job.
Are Handlebars Universal?
You can use different types of handlebars for different bikes since handlebars are universal. However, you do need to be sure that you pick handlebars that will fit the stem of your bike. If it doesn’t fit right, you either can’t fit the bar into the stem or you will end up with an unsafe handlebar situation. Carefully determine what the stem clamp diameter is, and the bar are the same size.
What are the Different Types of Handlebars?
There are actually several different types of handlebars that you can consider. There are a few things to know about the different handlebars. First of all, every handlebar has its own specific purpose. The primary use for your bicycle can determine which handlebar type will best work for your needs.
The different handlebars can also have an impact on how you sit on the bike. For example, with drop bars you will tend to sit in a more “aggressive” position while flat bars have you sit in an upright position. There are also different pros and cons to consider with each type of handlebar.
This next section will take a closer look at the different types of handlebars…
Drop Bars
These are the handlebars that you commonly see on road bikes, with a 3D shape made to offer multiple types of handlebars in one. You can hold it on the top, the corners, the hoods (top of the brakes), or the drops (lowest part of the handlebars).

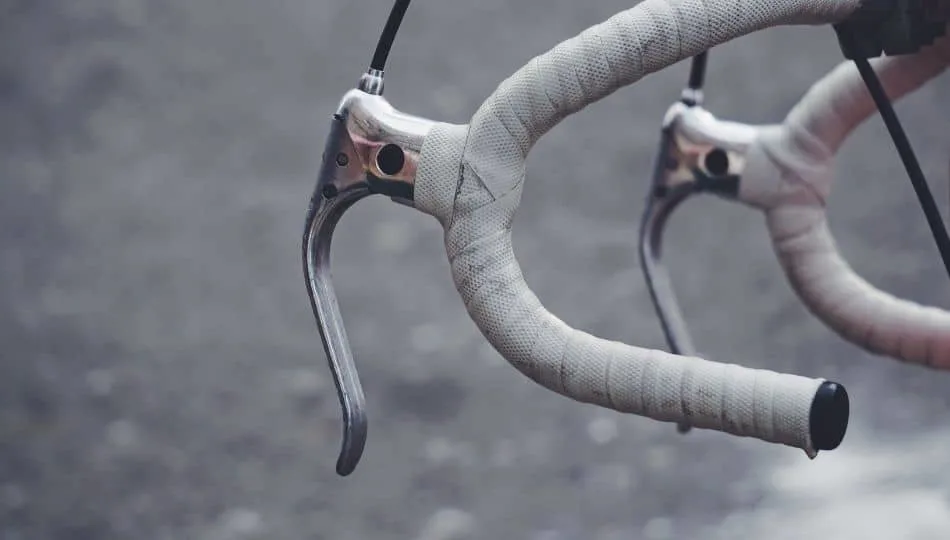
The fact that you can hold the drop bars in the way that you feel at any given time makes it a great option for riders who enjoy versatility. Within this category, there are several options to choose from and offer a different feel for the rider.
Pros
- You get great aerodynamics when riding your bike.
- These are incredibly versatile.
- Get better leverage when riding.
- Excellent options for bike enthusiasts that want to have options when riding their bike.
- Drop bars are very stylish options.
Cons
- Not great if you are frequently making tighter turns.
- Not the best option for riding on trails.
Flat Bars
Flat bars are pretty much the standard handlebars that you can find on most bikes. These generally have a simple, flat shape with a slight bend towards the rider. Flat bars are a popular option for cross-country riders because they also offer versatility. The handling experience is preferred by many because the steering is incredibly precise and predictable.
Pros
- These are versatile and simple bars that you can easily attach accessories like phone holders or brake levers to.
- You can lean forward easier, allowing you to easily shift your weight for better climbing.
- Since these are narrower bars, you are able get through tighter spaces.
- These are a cheaper and lightweight option.
- You get less lower back load.
Cons
- Not the best option for performing tricks or riding on rough terrain.
- This is the best option to get more speed since you can’t get into a tuck position with these handlebars.
Bullhorns
Bullhorn bars are easy to notice because the bars curve up and forward, similar to the horns on a bull. Previously, these bars were only really used on track bikes but now you can see them a lot more on a variety of different bikes. These are great because they offer multiple hand positions, allowing you to change stances based on how you want to ride at that specific time. Pursuit bullhorns curves forward, drops down a little bit, then comes up again which makes them a little different than standard bullhorns.
Pros
- Bullhorns offer excellent aerodynamics, allowing you to get lower against headwind or hit higher speeds.
- These are considered to be the best bars for climbing because their shape helps you get better leverage as you bike uphill.
- You can get more speed with pursuit bullhorn bars.
- Bullhorn bars look sleek and stylish.
Cons
- Not great if you take frequent tight turns.
Riser Bars
Riser bars are basically flat bars that rise up from the center area. These usually are wider than the flat bars typically are. Because the rider is better able to sit upright when using these handles, riser bars are usually used for trail biking.
Pros
- You get better control over the bike because of the wider handlebar, which offers better handling.
- Riser bars are a lot easier on the wrists than many other handlebar types.
- Can be used for both trail and free riding.
Cons
- These are more expensive handlebars.
- The wider handlebars mean you will have a difficult time on narrow paths.
- You don’t get great aerodynamics with riser bars.
Cruiser Bars
Also referred to as upright or North Road handlebars, cruiser bars are bars popular for more casual riders. You can stay completely upright while getting maximum control over your bike. These are commonly seen on vintage bikes, but some people love the classic style and aesthetic appeal that cruiser bars offer.
Pros
- Cruiser bars offer the highest level of comfort when compared to other bikes.
- You get cool vintage aesthetics that make the bike look like a classic.
- If you like baskets for your bike, then cruiser bars are the best choice.
Cons
- These bars require a more upright position, which means that you need a seat that has plenty of padding to keep you comfortable.
- Cruiser bars are the worst bars for climbing.
These are just a few of the more popular handlebar options. Other options to consider include:
- Butterfly bars
- BMX bars
- Aero bars
How to Choose the Best Handlebars for You
There are some things to think about when deciding on which handlebars are the best options for your needs. These considerations include:
- What the terrain is like where you are biking.
- The style of riding you enjoy.
- What you are willing to spend on the handlebars.
You want handlebars that are going to be comfortable for you, especially if you ride for a long time. You don’t want your wrists to start hurting or even going numb during your ride. If you noticed problems in the past with the handlebars that you were using, you may want to switch to a different option to make your ride more comfortable.

It’s also very important that you consider the diameter of your bike. Getting a proper measurement of the stem is something that has already been discussed, but it’s so important when you are getting a new set of handlebars. Typically, diameters are between 25-26mm when talking about the center clamp. The most important part of this is the part of the handlebars that fit into the stem. If you’re not sure of this measurement, you can use calipers to get an accurate measurement.
You really need to consider what your specific needs are before you invest in handlebars. Handlebars have a significant impact on your biking experience because they can affect the turns, physics, and speed of your bike. This means that it’s important to really do your research to ensure that you get the best handlebars for your needs. In some cases, you may end up needing some trial and error to figure out which ones are the best. The good news is that changing handlebars can be a surprisingly easy task.