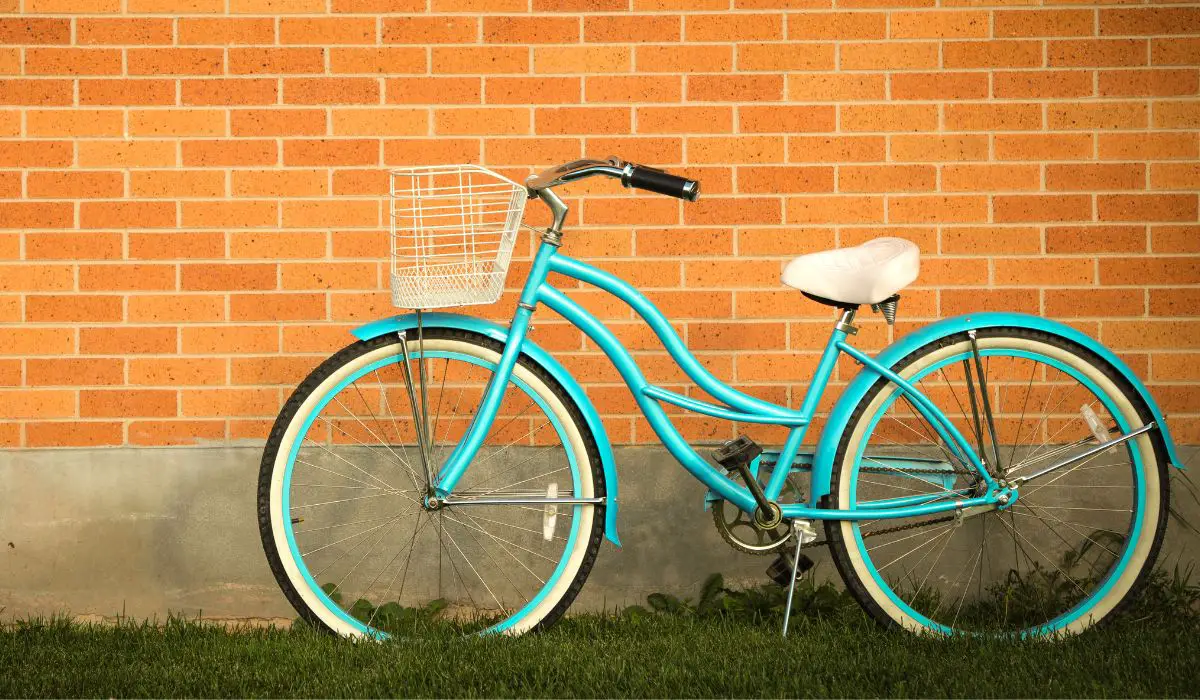
For many cyclists, the thought of painting their bicycle is a daunting one. Ultimately, this is due to the common misconception that your bike needs to be taken apart to be painted. However, with the right supplies and simple steps, you’ll be able to paint your bike without taking it apart!
For those intimidated by the idea of taking their bikes apart to paint them, they’ll be glad to know they don’t need to when using our simple twelve-step guide! From gathering your supplies to uncovering any areas that weren’t painted, we’ll guide you through the entire process!
12 Easy Steps To Paint Your Bike Without Taking It Apart
If you’ve decided to paint your bike yourself without taking it apart, you can use our simple twelve-step process. By carefully following these steps, you’ll be able to easily refresh the look of your bike while also protecting it from scratches, rust, and weather-related damage.
Step One: Gather Your Supplies
To paint your bicycle using our twelve-step guide, you’ll need the following supplies which can all be found on Amazon (links provided):
- Putty knife (optional, see Step Two)
- Hairdryer (optional, see Step Two)
- Aluminum foil and Coca-Cola OR WD-40 Specialist Rust Release Spray
- N-95 mask
- Fine 80-grit sandpaper
- Medium 200-grit sandpaper
- Dish soap
- Microfiber cloths
- Rubbing alcohol
- Painters tape
- Primer
- Spray paint
- Clear topcoat
Step Two: Remove Any Stickers Or Labels
Before you start painting your bike, it needs to be properly prepared beforehand. To start prepping your bike, you should remove stickers or labels from the bike frame.
NOTE: It might be difficult to reuse stickers once you’ve finished painting your bicycle.
However, painting over any stickers should be avoided. If the sticker peels off eventually, a portion of your bike’s frame will not be painted or protected from the elements. If you struggle to peel the stickers off, use a hair dryer to soften the adhesive. A putty knife can also be used to remove stickers.
Step Three: Remove Any Rust From the Bike
Once you’ve removed any labels, you’ll need to remove any rust on the bike. If there is rust on the bike’s frame, it will need to be removed before painting your bike.
NOTE: Proceed to Step Four if you don’t find any rust on your bicycle.
You can use some foil and Coca-Cola as a homemade solution to remove rust. By crumpling some aluminum foil and soaking the foil ball in Coca-Cola, you’ll be able to scrub the rust off using the foil ball.
Another option is to purchase WD-40 Specialist Rust Release Spray!
Step Four: Sand Down The Bicycle’s Frame
After any rust has been removed from your bike, it’s time to sand the bicycle frame! To avoid inhaling any particles while sanding your bicycle, you should wear an N-95 mask while completing this step.
Sanding removes the existing layer of paint and any scratches or rust on your bike’s frame.
Use fine 80-grit sandpaper to start sanding the bike frame. Rub in circular motions until no shiny spots remain on the frame. Once done, finish sanding the frame down with medium 200-grit sandpaper.
Step Five: Clean The Sanded Bike Frame
Sanding a bicycle frame will generate a lot of dust. Before you can proceed to paint your bike, it’s necessary to clean your sanded bike frame.
To clean your bike, mix warm water with dish soap. You can use one microfiber cloth to wash the bike with the soapy mixture and another to dry the bike when you’ve finished cleaning it.
Once you’ve dried the bike, you should “polish” the frame with rubbing alcohol. Basically, this will help remove any remaining oily residue on your bicycle.
Oily residue can prevent primer, spray paint, and topcoat from sitting well on the bike. Let the bike fully dry before proceeding to the next step.
Step Six: Cover Areas That Shouldn’t Be Painted
Once the bike is dry, cover any areas that shouldn’t be painted. The areas that shouldn’t be painted include the:
- seat
- handlebars
- drivetrain
- bearing surfaces
- breaks
- headset
Masking tape or painter’s tape is the best material to use when covering areas of your bike that shouldn’t be painted.
Once you’ve finished painting the bike frame, the masking tape will be removed without any sticky residue remaining on the unpainted parts of your bike.
Newspapers and bags can also be used with masking tape to cover areas that shouldn’t be painted.
Step Seven: Suspend the Bike Upside Down
To properly paint your bike, you’ll need to hang your bicycle upside down. Ultimately, the method you use to hang your bike upside down depends on whether you’re painting the bike indoors or outdoors.
NOTE: You should only use a properly ventilated garage or room when painting the bike indoors.
The easiest way to suspend your bike upside down is by using a bike mount or rack. If you have a wall rack installed, it can be used in the garage or an outdoor wall to suspend your bike.
Suspending your bike is essential as it will allow you to paint all the parts of your bike without missing any spots.
Step Eight: Apply A Primer Coat
Before applying your main paint coat, apply a primer coat to the bike frame. Ultimately, the primer functions as a protective layer on the frame. The primer will also ensure that the paint lasts longer.
TIP: To avoid inhaling any fumes, wear an N-95 mask while applying the primer.
The primer you use should be rated for use on bicycle frames that are made of:
- steel
- stainless steel
- aluminum
- titanium
Use slow motions when applying the primer. This will ensure the primer is consistently applied and prevents air bubbles on the surface of the bike frame.
The primer should fully dry before proceeding with these next steps.
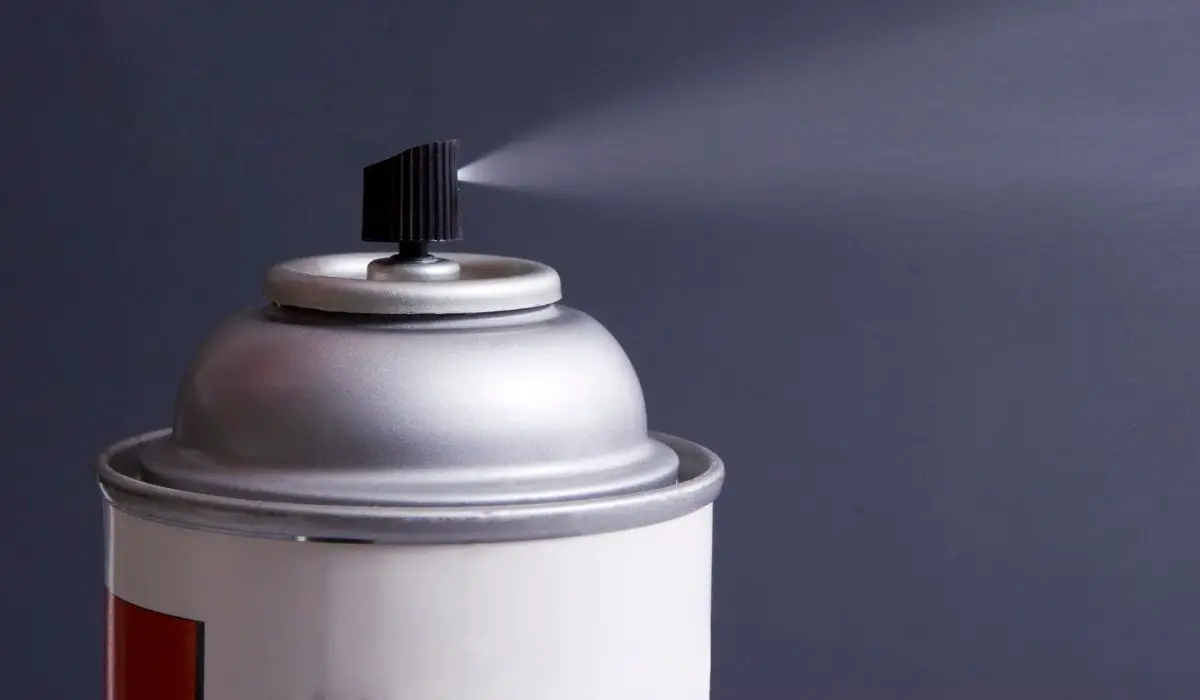
Step Nine: Spray Paint Your Bike
Once the primer coat is finished drying, it’s time to spray-paint the bike frame!
When spray painting a bike, you should stick to one brand of paint. Mixing multiple different brands could result in adverse reactions when the paint dries. Luckily, many great spray paints are suitable for bikes in various colors and finishes.

While spray painting the suspended bike, hold the canister at least one foot away from the frame. Like applying the primer, you should use motions that are:
- fluid
- slow
- even
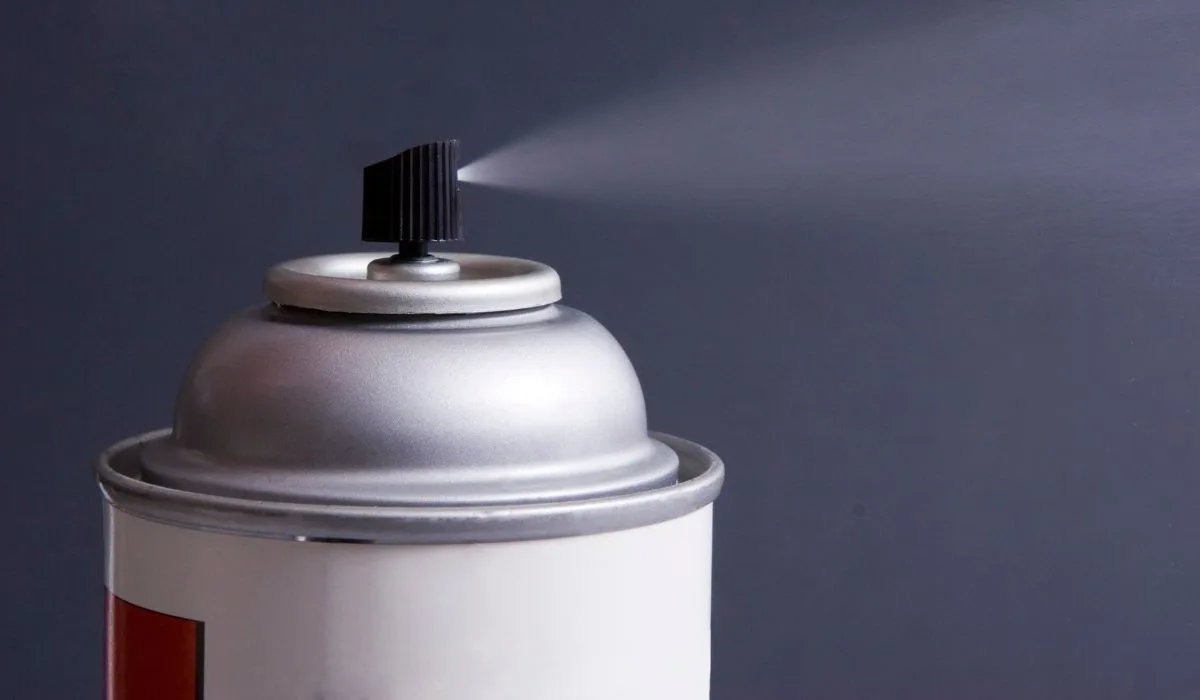
You should also maintain consistent pressure on the spray paint trigger. The base coat should dry for at least thirty minutes before you apply a second coat of spray paint.
Step Ten: Apply A Clear Topcoat
Once your second coat of spray paint has dried for at least thirty minutes, you can start applying your clear topcoat. Ultimately, this coat is responsible for protecting the spray-painted frame from:
- scratches
- chipping
- weather-related damage
For full protection from these elements, you should apply between two and three clear coats on top of the spray paint coats. Once again, you should use smooth motions when applying the clear coats, and let the bike frame dry for thirty minutes between each clear coat.
Step Eleven: Let Your Bike Dry
Unfortunately, it’s going to take longer than thirty minutes for your bike to dry fully. Once you’ve finished painting your bike, wait at least twenty-four hours for the different paint coats to dry fully.
If you want to speed up your bicycle drying, you can use a hairdryer on your bike frame. Using a hairdryer will cause the water to evaporate faster, allowing the paint to dry fully.
Step Twelve: Remove Any Coverings
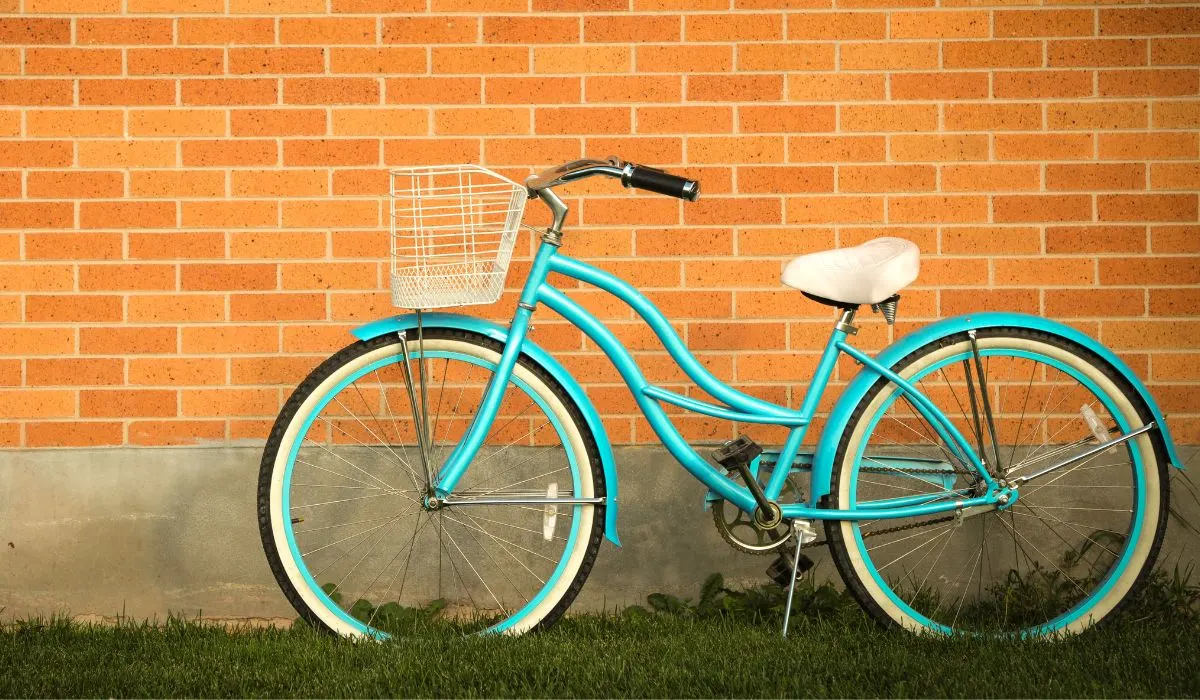
Once the bicycle has finished drying, remove the masking tape covering the areas that weren’t painted. After these coverings are removed, you’ll be able to properly appreciate your bike’s updated and refreshed look.
You’re now ready to hop on your new old bike for a ride that’s sure to turn some heads! If you decide to repaint the bicycle at some point in the future, use these same steps to upgrade your bike’s look again!

Conclusion
To paint your bicycle without needing to take it apart, you’ll need to start by prepping your bicycle. Once you’ve removed any stickers and rust, you can sand and clean the bike frame.
Then cover any areas that shouldn’t be painted before proceeding to apply the primer coat. After applying two coats of spray paint, you’ll be ready to apply your final clear topcoats to protect your bike from scratches and weather-related damage. Now, look at your beautiful bicycle!
You might also be interested in: