

For all the cycling enthusiasts out there, keeping your bicycle in tip-top shape will always be a top priority. In order to maintain your bicycle at the highest efficiency, this means that you’ll occasionally have to polish, fix, or replace parts. One of the most commonly overlooked components on your bicycle that can need replacement is the freewheel. Here are some tips to help you decide when it’s time to replace it…
The freewheel should be replaced when the freewheel’s teeth begin to wear down. After significant mileage on the same freewheel, the teeth’s ability to securely latch onto the bicycle chain deteriorates. As a result, one may feel the chain occasionally slip when changing gears or such.
While the idea is simple on paper, it can be quite difficult in practice, to tell when the freewheel needs a replacement. Oftentimes, a visible change in the shape of the teeth means that the freewheel is already way beyond its usable lifespan. However, worry not! Here are some tips for making sure you’re replacing your freewheel on time…
How to Tell When Your Freewheel Needs Replacing
Most commonly, enthusiasts consider replacing their freewheel at the same time they plan to replace their bicycle chain. This ensures that you’re not pairing a new chain with a worn-down freewheel. However, this doesn’t mean that you must replace your freewheel every time you replace your chain, it’s important that you check its overall health and performance when performing maintenance on your bike.
When riding your bicycle with a new chain, your freewheel’s performance deterioration is most obvious when you shift gears. Generally, a freewheel near the end cannot latch onto the bicycle chain properly. In this case, you may feel that your chain is skipping, sliding, or skidding under a load; and/or you may feel that you lack traction when pedaling your bicycle.
The second method to determine your freewheel’s usability is simply just inspection. On every occasion you ride, check the condition of its teeth. If it looks slightly deformed or worn, consider replacing it as soon as possible. The wear pattern on the wheel usually becomes slightly more pointy.
The final method is to invest in a freewheel checking tool that is usually available on the market for purchase. They use the principle of applying strain or load to a new chain with an unchanged cassette. If the chain skips, the freewheel needs to be replaced.
How to Replace a Freewheel
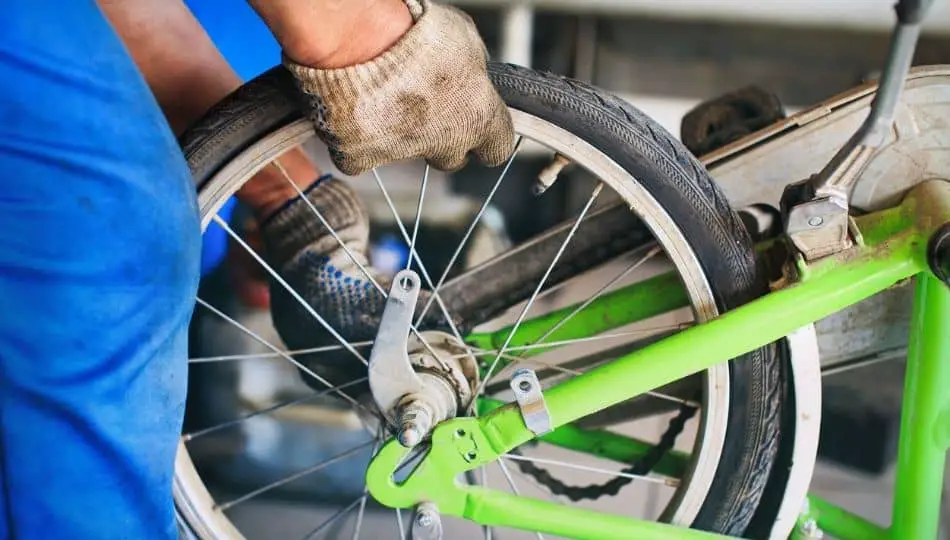
In order to remove or replace your bicycle freewheel, you will need a large wrench or vice clamp and a notched freewheel remover. The latter can easily be found at bicycle shops or online stores like Amazon.
- Secure your bicycle on a repair stand
This will allow you maximum leverage when conducting maintenance on your bicycle. In this case, it allows you the most efficient way of removing your bicycle’s rear wheel.
- Remove the rear wheel from your bicycle.
Rotate the handle on the quick-release skewer by 180°. This will change it from the locked position to the open position. Then, standing behind the bike, pull the derailleur body outwards — towards you. From there, you can unhook the chain and remove the wheel.
- Insert the axle-nut, then the freewheel remover tool into the central notch of the rear wheel
The freewheel remover holds the axle nut in place for the freewheel remover.
- Loosen the freewheel
This can be done by using a large wrench. Secure your bicycle’s rear wheel to the ground and use the suggested tool to turn the freewheel remover counter-clockwise. If for some reason, your freewheel is extremely tight, you should invest in a vice clamp. By securing the remover tool to the clamp, you can easily remove the freewheel by turning the wheel counter-clockwise.
- Insert the new freewheel onto the rear wheel
When inserting the new freewheel back into the central notch of the rear wheel, ensure that you are not cross-threading it… this will be a big problem later on if not secured properly. If the freewheel feels unusually tight, you should remove it and reinsert it back into the notch; repeat this process until the freewheel turns smoothly.
- Tighten the freewheel
You can tighten the freewheel sufficiently just using your fingers. After installing, go for a ride. Your pedaling will naturally fully tighten the freewheel into place.
How Much Does it Cost to Replace a Freewheel?

If you plan on replacing your bicycle’s freewheel on your own, the cost of a new component can range from $25 to anywhere above $300 on high-end parts and bicycles. On the other hand, replacing chains and rings can range from $40 to $250 for better quality components.
If you plan on taking your bicycle into a repair shop to have the freewheel fixed or replaced, take into consideration the labor costs. While this price varies from place to place, it should not exceed $20.
What Other Bicycle Components Should I Regularly Maintain/Replace?
Bicycle Spokes
There are many. Aside from your bicycle’s freewheel and chain, your bicycle’s spokes should also be regularly checked. Spokes are the thin metal rods that connect your bicycle’s hub to the rim of the wheel. The purpose of the spoke is to evenly spread out the mass of the bicycle and rider throughout the wheel.
Although your bicycle is not under the threat of immediate collapse of a spoke is broken or damaged, it can cause significant damage to your bicycle in the long term. With a missing spoke, your other spokes must distribute the same amount of mass over fewer spokes, resulting in larger strain for the bicycle. Eventually, this will only result in more broken spokes. The resulting misalignment of your bicycle due to the missing spoke will also damage the hull of the bicycle itself and the brakes.
Check out my article “This is What Happens if you Cycle with a Broken Bicycle Spoke” for more information.
Bicycle Tires
Your bicycle’s tire is another part that should be regularly inspected. Ensure that your tire is regularly pumped and that you never ride long — or even short — distances with a flat tire. Riding your bicycle with a flat tire can damage not only the tire itself but also the inner tube and the metal rim of the wheel. In some cases, a flat tire can easily dislocate from the bicycle’s wheel, which will likely result in the total collapse of the bicycle and an imminent crash.
Bike Derailleur
Finally, consider regularly cleaning and lubing the derailleur parts on your bicycle. These are the sets of gears that can be located both on the front and rear wheel of your bicycle. The purpose of the derailleur is to move the chain to a different gear; this occurs when the rider changes between gears on the bicycle. This will ensure that your chain has a smooth and easy transition from gear to gear when going uphill or downhill.
Final Thoughts
A bicycle’s freewheel is a crucial component for maintaining performance and efficiency. If the freewheel is kept unregulated and unreplaced for long periods of time, it may wear out, leading to discomfort in pedaling and potentially damaged components. It is essential that you regularly conduct maintenance not only on your bicycle’s freewheel but also consider inspecting your bicycle’s sprockets and chains.
While there are many simple methods of determining the wear on your freewheel, the same cannot be said for the process of replacing the component. Ensure that you follow every last detail for the smoothest experience!