Riding a bike to work can be a great way to stay fit and healthy. But one of the biggest issues that people have is a lack of storage space. A backpack can be a good option. However, it’s not always suitable to carry a lot of gear.
There is a simple solution to this problem. You’ll need to add some bike racks. Here’s everything you need to know about commuter bike racks!
What is a Commuter Bike Rack?
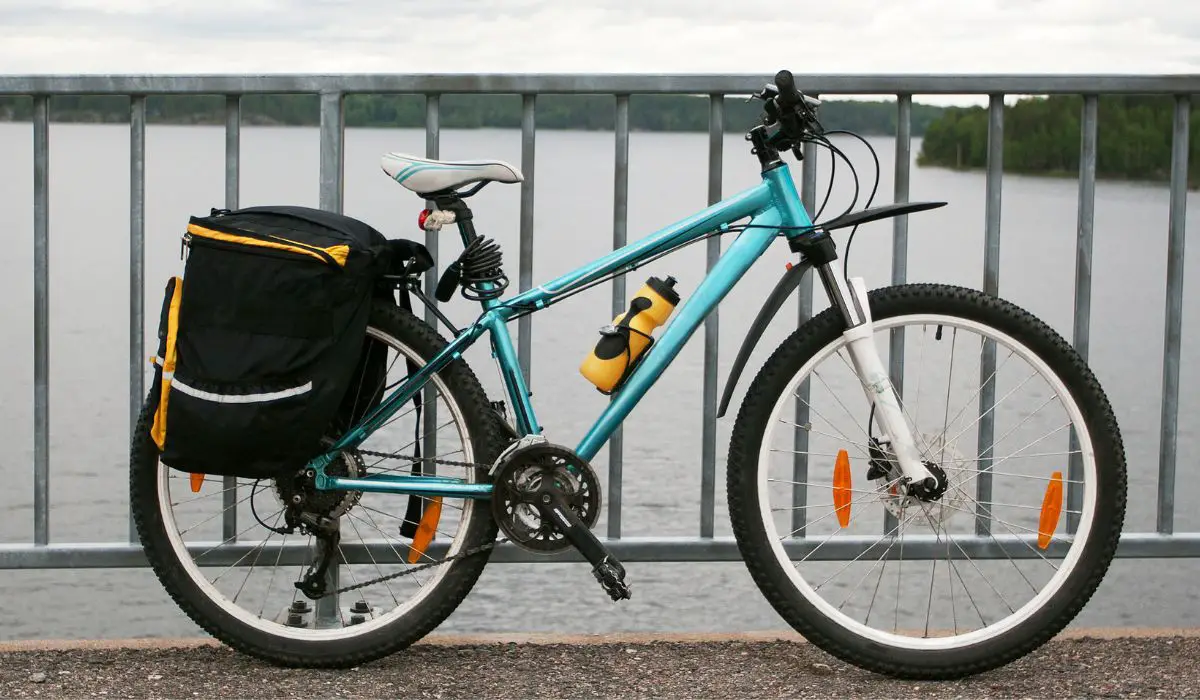
The best place to start is by looking at what a commuter bike rack is and why you might want to purchase one.
A bike rack is attached to the frame of the bike usually at the back. In most modern bikes, there are holes in the frame to make attachment easier. We’ll discuss how to install them in more detail a little later.
What are Rear Bike Racks for?
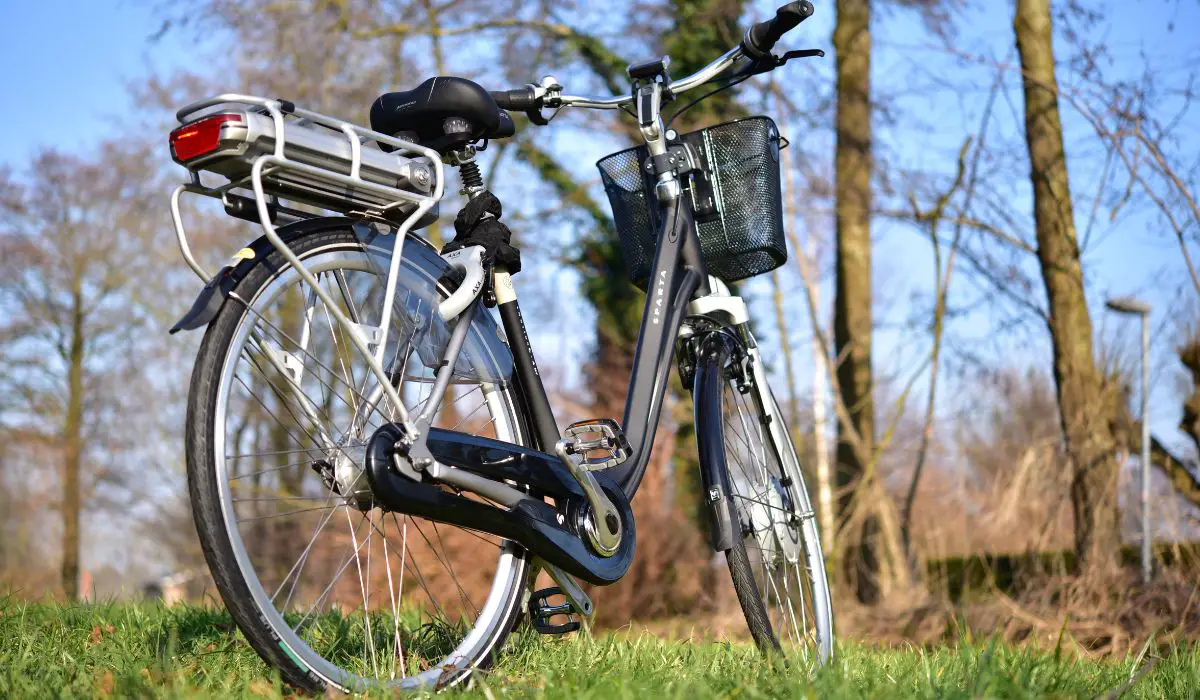
The rear bike rack is designed to be a stable frame. There are many ways to use it, the two most common are:
- Strap packages or goods in place on the top.
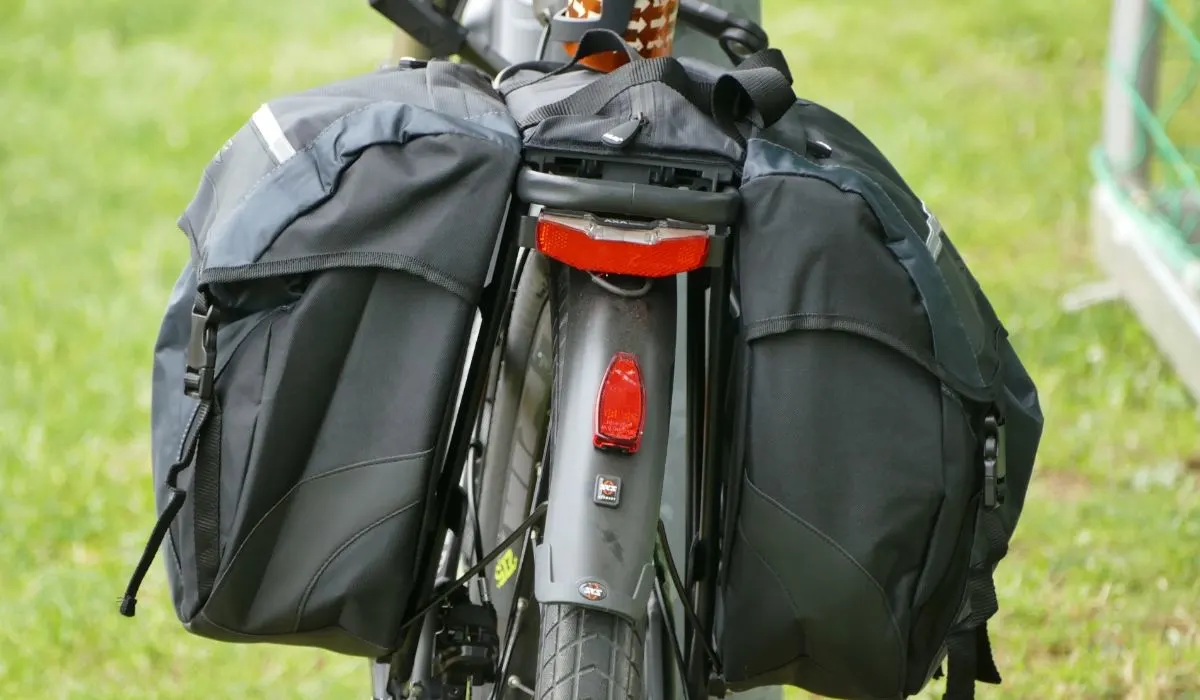
- Hang pannier bags off the sides, like these from Amazon.
Pannier bags can help carry larger loads and protect gear from foul weather. Usually, they are attached to the rear rack using a hook or bungee cord.
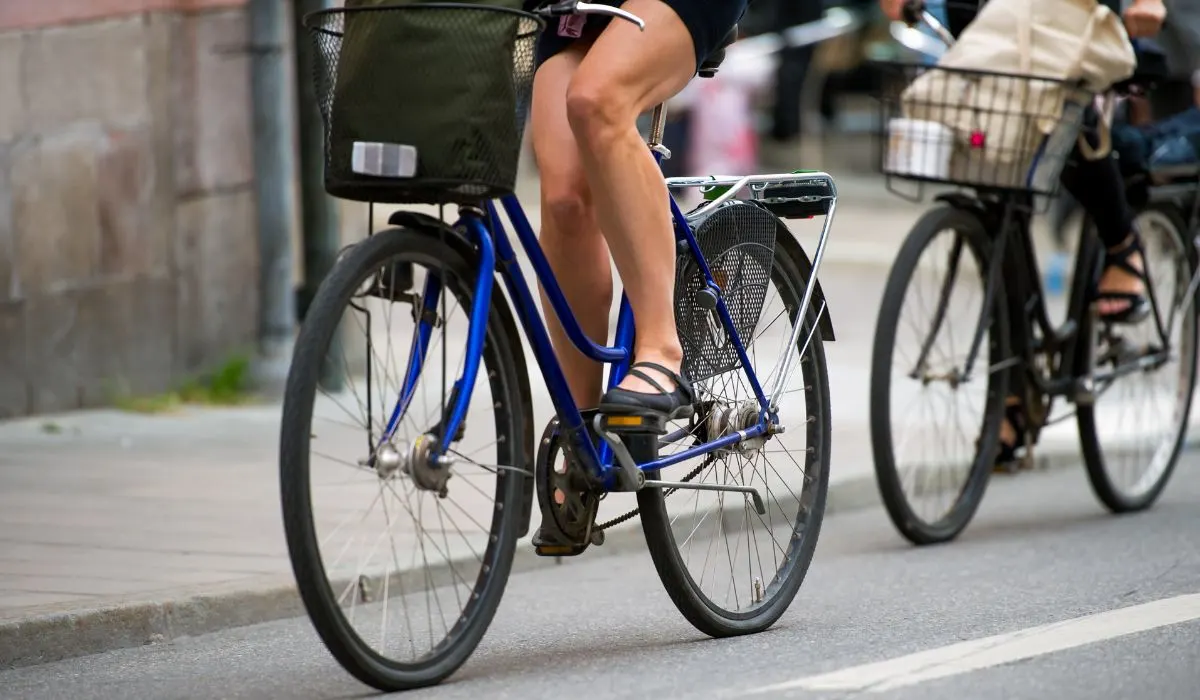
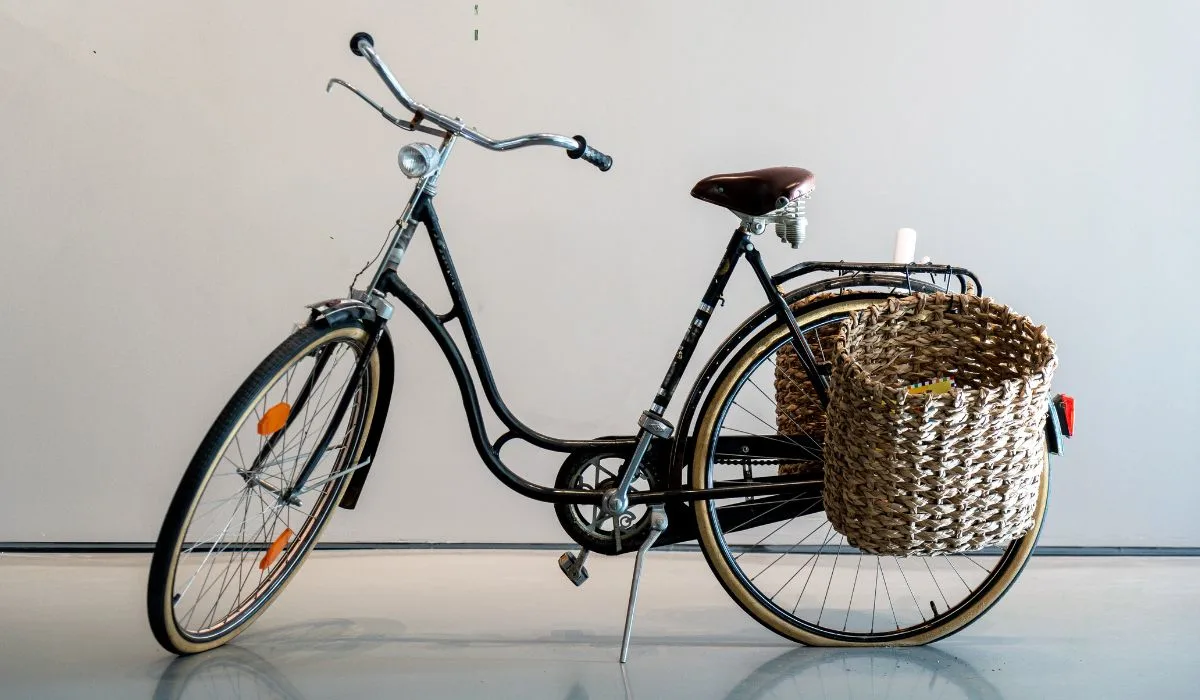
If you want more storage, you might want to install a front rack (here’s an example of one on Amazon), which is usually a basket that attaches to the front of the bike. This will add more storage capacity.
TIP: A basket can also be placed on the rear bike rack, which is a good alternative to a pannier bag.
How to Choose a Commuter Bike Rack
A bike rack can be a great addition to any commuter bike. The good news is that there are dozens of options for you to choose from.
Make sure that you pick the right one for your purpose. Let’s take a closer look at some of the things that you might want to consider.
Rear or Front Rack
First, decide where you want the rack to be attached. This depends on the amount of weight that you want to carry. If you don’t want a lot of weight, it can be attached to the front of the bike.
Generally, you’ll want to put on rear racks since they are able to take a bigger load. This makes them the most versatile option. Either strap the item in place or use a pannier bag to haul it.
Weight
Next, think about the amount of weight that the rack will be able to hold. In most cases, a bolt-on rear rack like this one (Amazon link) can cope with between 20 to 80 pounds.
TIP: The best way to check the amount of weight a bike rack can hold is by looking at the product specifications.
Also, consider how much the bike rack weighs. Ideally, it should be light. The heavier the bike rack, the harder you’ll need to peddle to get up to speed.
The excess weight might place more pressure onto the back tire, making it more likely to get punctured. Most racks will weigh around 2 pounds. Titanium ones, though, can weigh as little as 1/2 pound.
Materials
It’s important to get a high-quality bike rack. The best way to check this is by looking at the type of materials that are used to make it. There are a few potential options to consider. Each comes with its own set of pros and cons.
#1: Aluminum
These stands tend to be the lightest. However, they also tend to break the easiest. When they do break, they are the hardest to fix and it’s usually easier to replace them.
#2: Cromoly
This is based on carbon fiber and is also light. But it’s stronger and more durable than aluminum, so Cromoly is a good material choice.
#3: Steel
These are some of the strongest bike racks. If something happens, you can repair it without much difficulty. While these racks will last for years, they also tend to be heavier which can weigh down your bike, making it harder to pedal.
#4: Titanium
These are the gold standard and are:
- strong
- durable
- lightweight
Additionally, they won’t corrode or rust. The only drawback is that they tend to be the most expensive option.
How it Attaches
One of the most important things to consider when choosing a bike rack is how it will be attached to the bike. When replacing an existing rack, the new one should have the same connections.
TIP: If this is your first time purchasing a rack, look at the type of connections that are available on the bike.
The type of attachment will determine the amount of weight that it can carry. For example, racks that just attach to the seat have been designed to carry a lighter load. However, if they attach to the seat and the frame of the wheel, it will be able to have a heavier load.
How the Rack Looks
While functionality is important, it’s also important to make sure that the rack looks good. By looking at options, you should get a good understanding of how the rack will look when attached to your bike. The color and style of the rack help with how happy you are with it overall.
Price
Think about how much the bike rack costs. The good news is that you don’t need to spend a fortune, a decent bike rack usually costs between $25 to $120.
As a general rule, the more it costs, the better the quality of the rack.

How to Install a Commuter Bike Rack
If you like the idea of a commuter bike rack, you can put one on in just a few minutes. Here are the simple steps to install one.
Step #1: Attach the Adjustable Arms
These are screwed in place under the bike rack. Often, the rack will come with the screws needed to put them in place. For now, leave the screws loose so the arms can be pulled in and out easily.
Step #2: Droplet Eyelet
This is a small hole just above where the rear wheel, on the frame of the bike. To attach the bike rack, use a bolt.
TIP: An unused water bottle mount screw should work.
Place the bike rack over the hole and thread the bolt through the rack to hold it in position. Then, tighten up the bolt. At this stage, the rack should be able to move around a little. As long as it’s tight enough to hold the rack in place, it’s good.
You might find that your bike doesn’t have any droplet eyelets. If this is the case, attach the rack to the seat post. With only one attachment point, it won’t be able to carry as much weight.
Step #3: Level the Rack
Now, it’s time to move the rack until it’s level by using a bubble-level tool, like this one on Amazon. After it’s in the right position, tighten up the eyelet bolts to hold it in place.
Step #4: Attach the Adjustable Arms
This helps lock the rack in place. How this is done depends on the type of bike that you have. In some cases, the bolts are already in place. Use these to hold the adjustable arms in place and tighten up these bolts.
If not, you’ll need to use a p-clamp like this one sold on Amazon. These have a hole in them where the adjustable arm will be placed, and come with a bolt that threads through the arms.
Step #5: Finish
Tighten up all the bolts and check that the bike rack is secure. Congratulations, your commuter bike rack is now installed!
Step #6: Put a Light on It
This ensures that other road users can see you coming. Many places have rules about the type of lights to use. Make sure to read these before purchasing and installing the light.
How to Remove a Commuter Bike Rack
It’s possible that you might find that you don’t like the bike rack, or only need to use it occasionally. Thankfully, the process of removing it from your bike is very simple.
Loosen the bolts:
- adjustable arms
- droplet eyelets
- remove the bike rack
When you are putting it away, place the bolts and attachments into a Ziploc bag and tape it to the bike rack so you’ll have everything you need to attach it to the bike again.

How to Find a Good Bike Pannier
Once the bike rack is installed, you’ll want to put it to use. If you have a bulkier item, like a suitcase, you might be able to hold it in place with cargo straps. For smaller items, it’s more difficult.
To carry smaller items, use pannier bags. They will sit on the side of the rack and are held in place with straps. With dozens of options on the market, how do you find the right bike pannier bag?
Let’s look at some of the things you should consider.
Compatibility
Check that the panniers are compatible with your rack and that the size and shape of the pannier will work with what you have.
Type of Pannier
There are two main types of panniers for you to explore.
The first is a bag that attaches with hooks which is the most popular option. These pannier bags on Amazon are great value. They can be picked up and carried, but they typically spend most of their time attached to the bike. For general purposes, this style is a great choice.
For a more active lifestyle, consider a backpack pannier like this one from Amazon. These have been designed to function as both a pannier and a backpack, depending on how you want to use them.
Extendable Collar
The amount of space used in a pannier can vary. For example, there might be some days when you are just carrying a laptop. At other times, you’ll be carrying the shopping.
Pick a bag that has an extendable collar. Here’s an example of a great one from Amazon. It’s then super easy to decide how large or small you want it to be and adjust it. This will stop the excess fabric from catching the wind and slowing you down.
Accessing The Pannier
Think about how you will use the pannier. One large space is ideal for transporting larger items.
For daily use, use a bag that has smaller sections. This is ideal for those who commute to work on their bike. Use one section for your snacks and another for important documents and gear.
Chain Stay Length
Also, think about the chain stay length. This is where the pannier will be positioned when you are riding.
If it is too low, it can get hit by your heel as you pedal, which will jostle the bag and become very uncomfortable. Measuring between the top of the rack and the chain will tell you the maximum size of the bag.
NOTE: If you are striking the bag while you are riding, switch to a smaller bag.
Waterproof
Finally, make sure that the pannier you select will be able to cope with rough weather. Most of them are made from waterproof material and have a cover to put over the opening of the bag.
Usually, a waterproof bag like this one from Amazon will be very durable.
How to Use Bike Panniers
Once you’ve found and hung the panniers, put them to good use! Here are a few tips to keep in mind when packing your pannier.
First, check how the weight is distributed inside the pannier. Avoid putting all the heavy items on one side of the bike. This can make it harder to ride and makes for a greater risk of falling over.
When carrying a heavy load, disperse it between the front and back to reduce the pressure on the rear wheel, stopping it from puncturing.
It’s a good idea to keep the most important items on top so they’re easier to access when necessary. A smaller saddlebag is ideal for holding important things like a wallet and repair equipment.
Consider how you are planning to protect valuable items during the ride. If you have liquids, they should be standing up, sometimes there is a pocket built into the pannier for bottles.
Put valuable electronic items into a protective case.
Finally, remember that not everything needs to go into the pannier. Bulkier items can go on top of the bike rack using cables to hold them in place during the ride.

How to Pick the Right Basket For Your Bike Rack
While panniers can be useful tools, there is another storage option to explore.
A basket on the rack is versatile and easy to use. However, unlike a pannier, it won’t provide waterproof protection, but it can be very light.
Let’s look at some things to consider to find the perfect rack and basket for you.
Weight
One of the first things to consider is how much the bike rack weighs. This is especially important for a seat-mounted rack. The type of materials it is made from will affect how much it weighs.
TIP: The weight should be listed in the product specifications.
Type of Basket
Depending on the type of cargo you want to transport, consider a detachable basket like this one (Amazon link). The most common basket shape is square which tends to be easiest to attach to the rack. Other good options are rectangles and D shapes.
NOTE: It’s possible to get two baskets, and attach them on either side of the bike rack.
Materials
There are two main types of basket materials to choose from.
A wicker basket:
- is environmentally friendly
- have a retro appeal
- tends to be very light
The biggest downside is that they’re not as durable as some of the other options on the market, and don’t respond well to getting wet.
A metal basket:
- is the most durable option
- are weatherproof
- holds more weight than a wicker basket
However, they are more expensive than wicker baskets.
Style
The style of the basket can be customized to suit your bike. The good news is that most baskets come in multiple colors, so you’ll be able to find the perfect one for your bike.
Price
Lastly, consider the price of the basket. The good news is that a good basket won’t cost a fortune.
The more a basket costs, the more helpful features it will have. For example, some baskets have handles, and some baskets fold when not in use.
NOTE: How important these features are will depend on how you intend to use the basket.
Installing a Basket on a Commuter Bike Rack
Once you’ve picked out the perfect basket, it’s time to add it to your bike. This is a fairly simple task.
Some baskets are held in place by leather straps. Thread them through the basket and put them around the rack and tighten the straps to attach it.
Another common method is to use a metal clip. One end attaches to the basket and the other side clips to the rear rack. This is the most common design and is the easiest to use. In seconds they can be attached or removed from the bike.
This video shows you how to attach a basket to the front of your bike.

How to Maintain a Rear Bike Rack
Once installed, a bike rack is very durable and lasts for several years. However, to make sure that it lasts for as long as possible, there are a few simple maintenance tips to keep in mind.
First, keep it clean, especially in the winter months. If slush or mud gets on the rack, it has the potential to become corrosive. At the end of the ride, wash it off to prolong the life of the rack.
If the bike rack moves while riding, it’s a sign that the bolts aren’t tight enough. Check this every few months and tighten the bolts when necessary.
A bike rack will need to be replaced eventually. There are a few signs that this might be the case:
- rust on the rack
- bent out of shape after an accident
Try using a hammer to beat it back into position. If this doesn’t work, you’ll need to replace it.
Final Thoughts
Adding a rack to a commuter bike can be a great idea. A bike rack:
- can carry your gear to work
- are easy to install
- can strap larger items on
- can hold pannier bags
Alternatively, you can use a basket. Hopefully, you now have a better idea about what a commuter bike rack is and how you will be able to use one.
You might also be interested in: