
Imagine your bicycle with newly painted rims, gleaming in the sun, ready for your next outing. Painting your bicycle rims is possible without breaking the bank or spending too much time on the project.
The steps involved in painting bicycle rims include:
- Disassembling the wheels
- Covering the spokes
- Cleaning the rim
- Purchasing the correct paint and clear coat
- Purchasing the correct paint and clear coat
- Applying the paint and clear coat
- Re-assembling the wheel
Painting your bicycle rims is easy if you exercise patience and have the will to observe and learn. Set out enough time and gather all you need beforehand to prevent unnecessary delays during the project.
Five Steps To Painting Your Bicycle Rims
Preparation is key! Gather the following supplies before starting the project, Amazon is a convenient place to get everything you need. I’ve linked to the product on Amazon where available. You will need the following items:
- rags
- liquid soap
- nail polish remover
- a soft brush
- spray paint
- clear coat
- string
- masking tape
- drinking straws
- tarp
- bike tools to disassemble the wheels
Step #1:
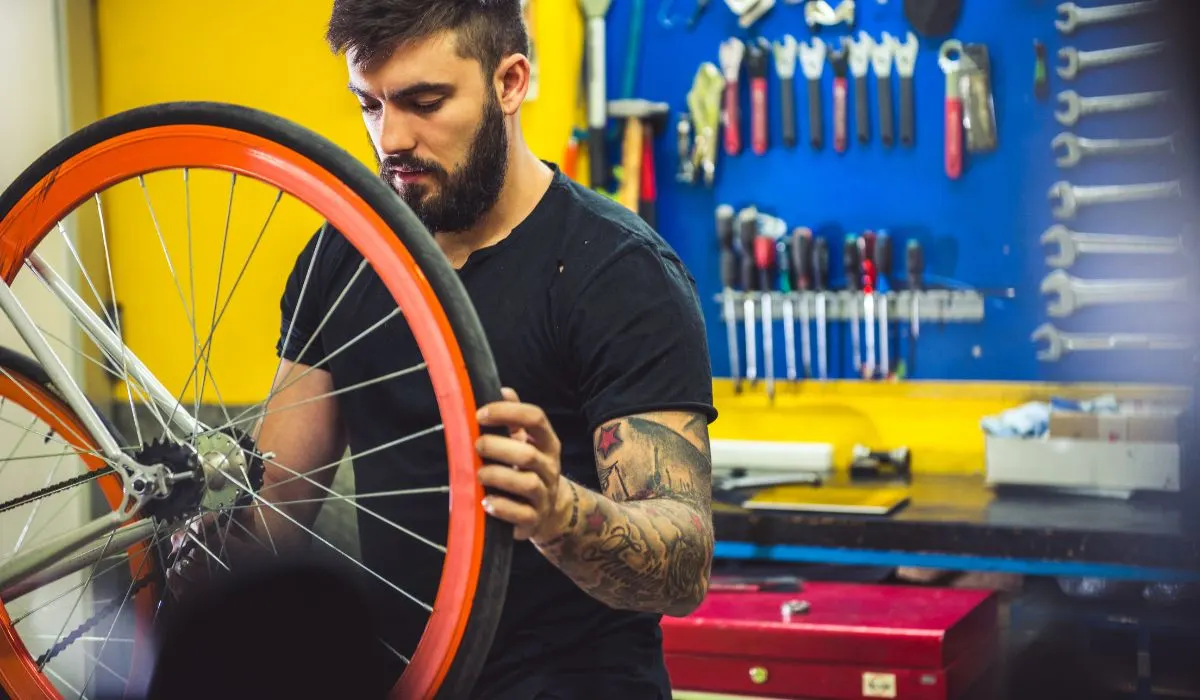
Remove the wheel from the bicycle and the tire from the rim using the same tools you would when replacing the bicycle tire. Put the tire aside and clean the rim using a rag and liquid soap to remove all grease and grime that may have layered on the rim.
If needed, use a soft brush to remove stubborn dirt. Use nail polish remover to remove any stickers on the rim, then:
- wash again
- rinse thoroughly
- wipe with a cloth to dry
Step #2:
Use masking tape to cover the spokes and nipples up to halfway to protect against overspray.
In addition to masking tape, cut drinking straws length-wise on one side and slip them over the spokes and nipples to protect against paint overspray. Wipe the entire rim with a damp cloth and dry with a cloth to remove any:
- dirt
- dust
- fingerprints
Step #3:
Gather the string and run it through the valve opening on each rim. Ensure the string is strong enough to carry the rim’s weight when hanging.
Hang the rim on the string in a draft-free well-ventilated area. Take care to hang the rim at the correct height for easy spraying. Chest height should suffice.
Step #4:
Place a tarp underneath the hanging rim to protect the floor and surroundings from the paint.
Get ready to spray. To obtain the perfect covering, you need to spray-paint small areas at a time. Use a thin coat and spray small sections instead of the entire rim.
Small sections sprayed with thin coats set better, and the paint lasts longer. Leave each coat to dry for twenty-five to thirty minutes in between sprays. It should take four to five coats to cover the rim in the new color completely.
Step #5:
Time to add the topcoat. Before adding the topcoat, allow at least two days for the paint to cure completely. If you apply the clear coat prematurely, it will not set correctly, and the paint will chip. The clear coat hardens the paint, keeping your rims looking good for much longer.
The choice of using matt or gloss paint depends on your preference. However, no matter what paint you choose, it is essential to add a clear coat.

What Type Of Paint Can I Use To Paint My Bicycle Rims?
Modern-day bicycles are equipped with rims manufactured from varied materials. For example, older and cheaper bicycles have steel rims, while the more modern and expensive bicycles have aluminum or carbon fiber rims.
NOTE: Determine what type of rims your bicycle has before purchasing any paint.
Remember that ordinary spray paint will not adhere to aluminum since aluminum is not porous and cannot absorb the paint. Using the wrong kind of paint on aluminum will be frustrating and time-consuming. Instead, opt for special aluminum paint. The five steps mentioned earlier still apply.
Using the five steps mentioned, you can paint steel rims with spray paint. Remember to use metal safe paint with anti-rust properties such as Rust-Oleum.
Carbon rims can also be spray painted with metal-safe paint. The process is much the same as painting steel rims, but you need to clean the rims mechanically and chemically and prime the rims with a high-build primer like this one on Amazon, that hides imperfections on the rim.
How To Paint Carbon Fiber Bicycle Rims
Carbon fiber rims are the most expensive bicycle rims, and if you decide to paint them yourself, take note of the following:
Use care when sanding carbon rims before painting, as removing the coating that protects the carbon will damage the integrity of the rim. The main difference between preparing carbon rims for painting and preparing steel and aluminum rims is that you need to use two types of cleaning methods.
After lightly sanding the carbon rim by hand, and smoothing out the decals under the clear coat, be careful not to sand through the clear coat onto the carbon. Hereafter two different cleaning methods are used.
Mechanical cleaning refers to removing:
- old paint
- stickers
- adhesives
- decals
Chemical cleaning refers to washing the rims clean of:
- oil
- grease
- grime
- fingerprints
To ensure the rims are free from dirt, use acetone (sold on Amazon) and scrub with white paper towels until the paper towels stay white.
Use a high-fill primer that hides any imperfections on the rim before applying the paint. The primer must cure completely before applying the paint in thin layers, one section at a time.
Then, apply four to five coats of paint and leave to set completely before applying the clear coat.
Can I Cover Old Paint With A New Layer Of Paint?
Changing the color of your bicycle rims or just repainting to enhance their look is possible even if you need to paint over the existing paint. You can opt to remove all the old paint or sand down the existing paint, smoothing it out before applying the new layers and using the same five steps mentioned earlier.

Can You Paint Bicycle Rims Without Disassembling The Wheel?
It is possible to paint bicycle rims without removing the wheel from the bicycle and disassembling it.
NOTE: This method may be more time-consuming but may be the preferred option for those who do not feel technically confident to disassemble the wheel before painting and reassemble it afterward.
Six Steps To Paint Bicycle Rims With The Wheels Intact
These six steps will allow you to paint your bicycle rims without disassembling the wheels.
Step #1:
Gather all the equipment needed to perform the task. You will need:
- a tarp to cover the floor and surrounding areas from the spray paint
- masking tape to cover all the areas on the wheels you want to protect from the paint
- rags and soap to clean the rims thoroughly
- dry cloths to wipe the rims after cleaning
- sandpaper to roughen the rim enough to allow the proper curing of the paint
Step #2:
Turn your bicycle upside down and place it on the tarp with the wheels facing up. Your bicycle will now be balanced on the saddle and handlebar. Clean the rims with a cloth and soap to remove dirt and wipe dry.
Step #3:
Use masking tape to cover all the items on the wheels you do not want to paint:
- reflectors
- brakes
- air valves
- spokes
- any other area you want to protect from the paint
Step #4:
Use fine sandpaper (Amazon link) and lightly sand the rim, careful not to sand too much and grooves in the rim. Light sanding allows the spray paint to grip and cure better.
Once again, use a cloth to wipe away any traces of dust.
Step #5:
After all the preparation, it is time to do the spray painting. Apply the spray paint in sections and very thin layers.
Let each layer cure entirely before applying the next layer of paint. Apply four or five layers of paint to achieve optimum coverage.
NOTE: You may opt for a clear coat as the final layer of paint.
Step #6:
Wait for the paint and clear coat to cure completely, then carefully remove the masking tape. Finally, turn the bicycle upright, stand back, and enjoy your handy work.

Will Painting My Bicycle Rims Affect Braking?
Members on different bicycle forums have raised their concerns on how safe it is to paint the rims of a bicycle fitted with rim brakes since the paint may cause the brakes not to grip effectively in wet weather.
Bicycle forum members have different opinions on the matter. Some feel you should not paint the rims due to safety concerns when braking; others feel it is worth the risk since the paint will wear away quickly, allowing for better braking.
Conclusion
The thought of painting your bicycle rims may be daunting at first. However, proper research will ensure you invest in the correct equipment and use the correct methods, giving you satisfactory results.
You might also be interested in: