It is one of the most common issues for cyclists; the dreaded rubbing break. Fortunately, it’s mostly a quick diagnosis and, with a few basic tools, a quick fix too. However, sometimes rubbing brakes may indicate a deeper problem and an expert should be consulted.
Regardless the style of brakes you have, to stop your brakes from rubbing you need to ensure that the point of contact is sufficiently separated from the brake mechanism itself. For instance, the rubber pads on a basic caliper brake must not contact the rim until deployed.
Brakes rub for a variety of reasons, among the most common are:
- dirt and grime
- misalignment
- overly tight cables
These cause the brake mechanism to reside too close to the actuation point and cause noise and/or increase drag when you are riding. Generally, the issue can be easily resolved; this article will take you through all the scenarios you might come across, so you can diagnose and stop your brakes from rubbing…
The Most Common Types of Brakes on a Bicycle
The type of brakes in use can give you a general idea of where to problem is likely to be, simply because they all have their failure points. There are four brake types which are the most common among bicycles and they are:
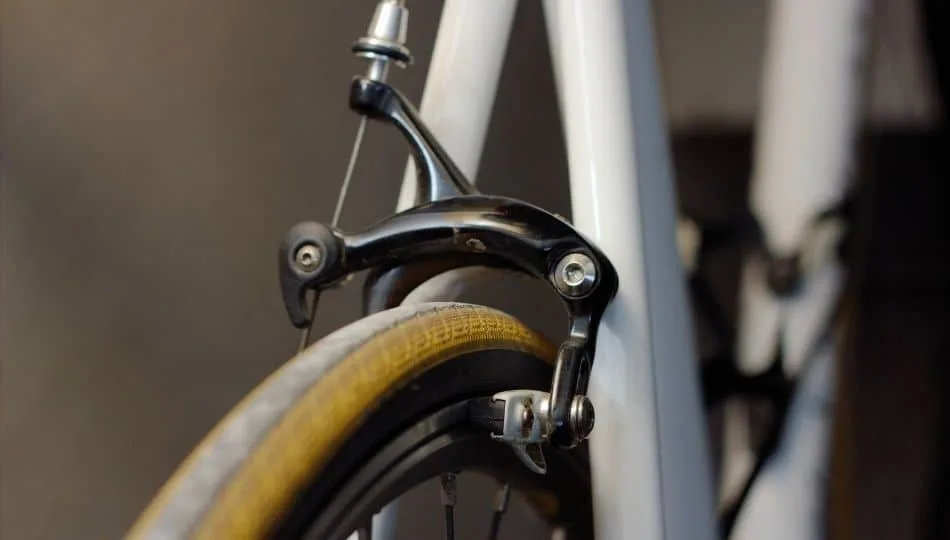
The Caliper Brake – The Caliper brake is perhaps the simplest brake design out there. Engaging the brake causes the calipers to clamp down on the metal rim of the wheel. Those who use or have used this type of brake know that the action can be problematic in wet weather and the calipers can tilt or be over-tightened.
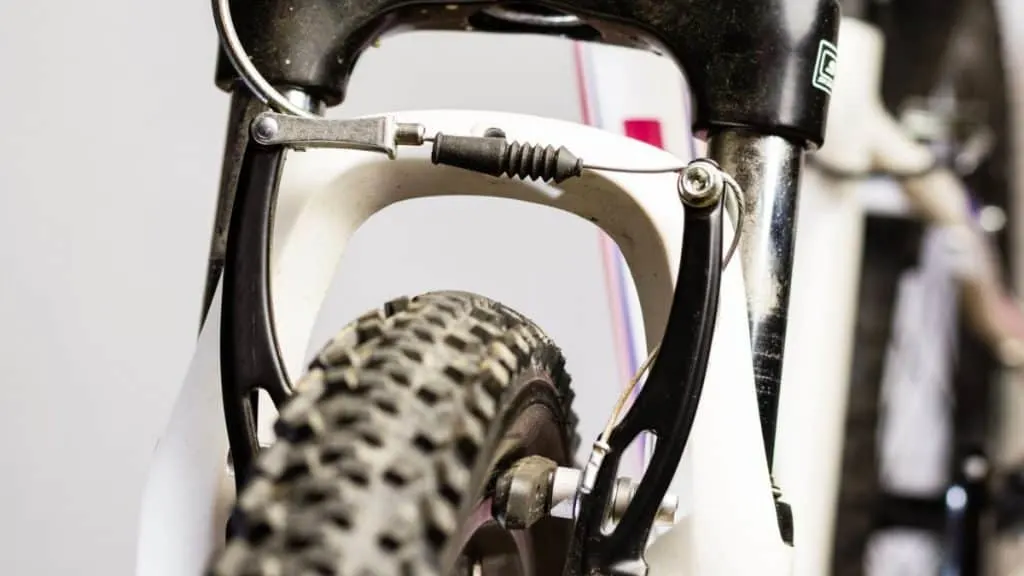
The Cantilever Brake – Somewhat similar to the caliper style but much more powerful, these are specialized brakes that require the use of a custom fork as a mounting surface. Again, this style can suffer from overtightening.
The V-Brake – This is a style of brake that is built into the bike during manufacturing. Being mounted directly to the forks and the frame of the bike, they exert stopping pressure against the metal rims via stout pads. The powerful force they exert makes them popular for off-road cycling.
The Disc Brake – while the heaviest among brake designs, this style is also the most powerful in terms of stopping power. This hardy design continues to function in the most adverse conditions. Disc brakes offer two actuation methods. The first engages the use of hydraulics and the second uses the cable that is standard to the other styles.
Symptoms of Rubbing Brakes on a Bicycle
Chances are particularly good that you already know when your brakes are rubbing as the tell-tale signs are either a high-pitched squeal or a noticeable drag when you pedal, coast, or go downhill. At this point it is advisable to quickly find a safe place to pull over and assess the situation.
Diagnosing Brake Issues on a Bicycle
Once you are safely out of the way of any traffic and off your bike, ensure that the bike is upright. Do not immediately begin adjusting the brakes, run a trap-line first. Is your tire correctly seated? Unsnap the quick release and remove the wheel, check for any spoke damage, if none is visible then reseat the wheel.
After ensuring that the wheel is properly seated, spin the wheel, and ensure that the rim is not bent or warped. Once rim, frame and spoke concerns are ruled out then check the brake mechanism itself. Remove any dirt or debris that may have accumulated between the brake pad and wheel.
Test the brakes, does the brake release cleanly when the brake pull is released? Brakes that are sluggish upon release may have cables that are dirty or loose. Check for any fraying or abrasions on the cable and test for tautness. Check the orientation of the pads relative to the rim, off kilter pads are a common issue and easy to adjust.
Finally check for centering of the brakes themselves. For instance, Cantilever and Caliper brakes can get tilted and leave one pad rubbing against the rim. Adjust, as necessary.
A last word on diagnosis. If you have packed your bike on a roof rack and reassembled it at your destination, be sure that you have not inadvertently switched tires with anyone in your party. This has been known to happen.
DIY Quick Fix for Bicycle Brakes

If you suspect a more serious issue, consider walking your bike back to base. If you feel you can enact a temporary fix and get back, then do so. Most of the time you can at least perform triage on your brakes and assembly until you can get to a more desirable location. Ensure your safety, pay attention to how your bike feels as you ride it.
When to Consult a Professional
The more complex the brake assembly, the more likely it is that you will want to consult a professional. Reputable bike shops always have a couple certified personnel available. Unless you have extensive knowledge of brake repair processes, you are likely to save time and money by employing a professional.
Even the simplest style of brake, the caliper, can be quite a challenge if you aren’t well versed in the basic operation of the unit and any analysis and repair procedures.
Overall, it is good practice to give your bike a yearly tune-up as done by a professional. Twice a year if you use your bike daily or ride hard.
Preventative Maintenance for your Bike
Preventative maintenance is the one thing that pays dividends. If you have a car then you know how important it is to check the fluid levels, tire condition, ensure hoses and belts aren’t cracked and, yes, even the brakes are in good repair. Most of us opt for a routing yearly (or more) inspection cycle. Catching problems early saves money.
The same goes with your bike. Though certainly not as complex as a car, your bike is likely a significant cash outlay for you. Keeping the bike clean is of the first order. Cleaning your bike regularly allows you to familiarize yourself with its working. Familiarity means you have a better chance of identifying potential issues.
Washing your bike down and using a clean rag to wipe it down is probably the best practice for keeping your bike in the best of shape.
If you’d like more information about regular bike maintenance, check out my article here, for a comprehensive guide on keeping your bike in tip top condition.
Further Thoughts
If you have just retrieved your bike from the shop, or have made modifications to your bike, take a quick look at the work. If the unit is brand-new then return it to the shop for a review. If you made any modifications or recently replaced your brakes, go back over your work.
If you notice that your brakes are grinding, then stop immediately. Grinding brakes generally mean your pads are worn and you are getting metal on metal contact. This can destroy your rims and end up costing you a lot of money. That’s the least of it as you could suffer serious injury because of this.
The components that you use on your bike have a direct impact on the quality and safety of your ride. You pay for quality up front but the return you get on the back end in terms of longevity and reliability far outweigh any cost savings that you may achieve with cheaper components. In the end, cheaper components are more expensive.
Keep and maintain a bike checklist so that you know what services you may require in the future. A checklist allows you to get to know your bike better than if you periodically tend to the unit.
