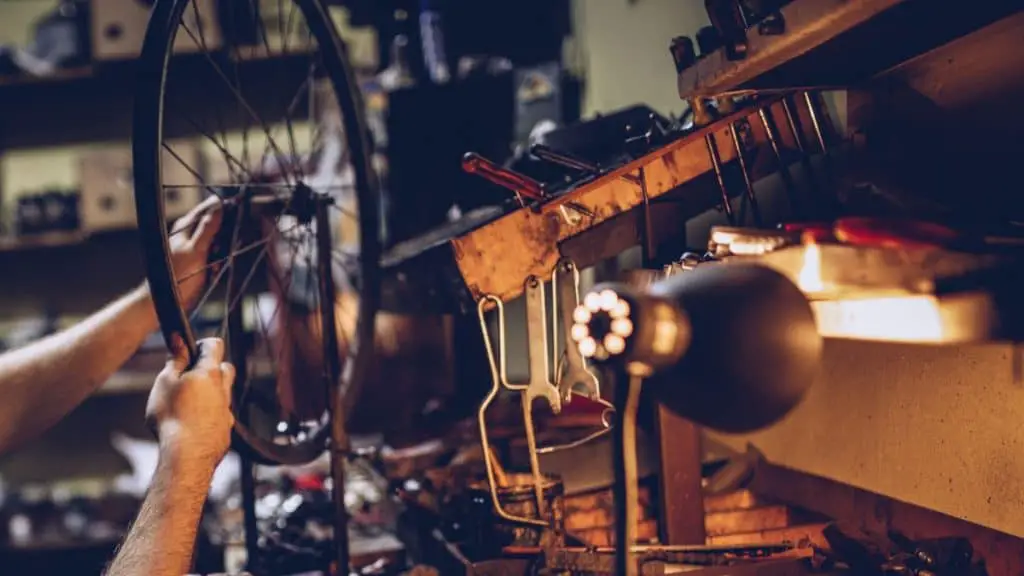
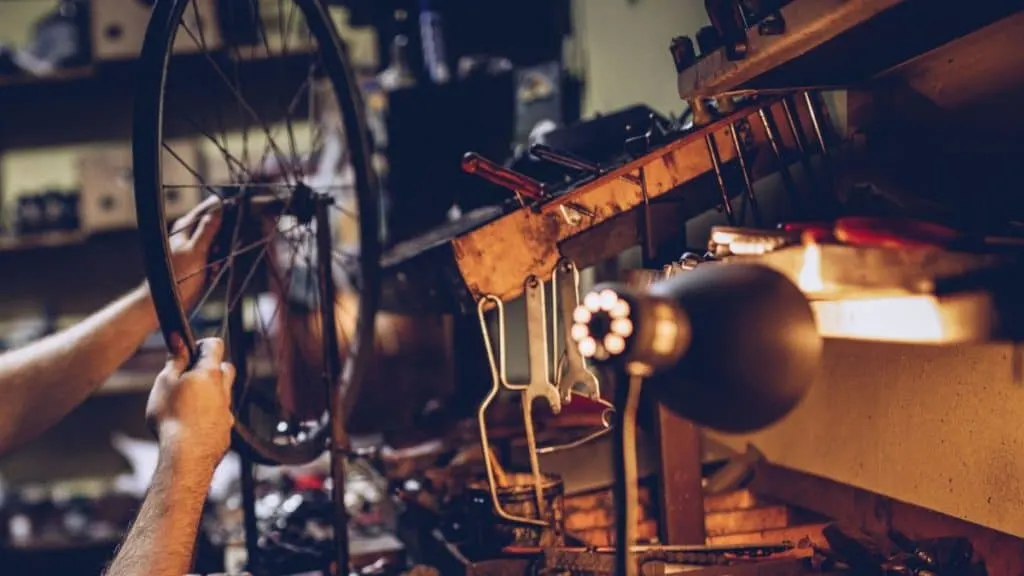
Whether you’re sporting a mountain bike, racing a road bike, or casually riding a beach cruiser, we all love hopping on our bikes and having a great ride. But it can be easy to forget the importance of keeping them maintained to make sure each ride is as fun as it is safe.
The best way to maintain a bicycle is to keep it clean and keep a few critical components sufficiently lubricated. There should also be routine inspections of its parts before each ride and a deeper inspection/service on an annual basis.
To keep your bike in excellent condition, I’ve created this guide to equip you with the knowledge you need to maintain your bike effectively. Keep reading to learn everything you need to know to keep your bike happy.
Bicycle Maintenance: Before Each Ride
The most important thing any cyclist can do before they hop on their bike is doing a pre-ride inspection each time. A quick analysis and checkup of your bike’s most essential components can make all the difference in ensuring a longer lifespan for your bicycle and keeping you safe every time you go riding.
While I encourage over-viewing as much of your bicycle before each ride as possible, the key elements you want to assess are your air, brakes, and chain.
Making sure these components have full functionality takes just minutes, does not require a bike mechanic, and can be accomplished by a cyclist with zero to little experience.
- BONUS TIP: A good way to remember the pre-ride check is to think of ABC:
- A for Air
- B for Brakes
- C for Chain
Remembering to do the ABC check will ensure you remember to check the safety of your bike before every ride. Let’s take a look at exactly how to do each one…
Check your Bicycle Tire Air Pressure
The first one is the air pressure in your bicycle tires. This can be done in a rudimentary fashion—as simple as grasping your tire and ensuring it has a firm and stiff feel.
You should find when you try to squeeze the tire, that it stays stiff and is difficult to squeeze. If it gives a little, then your tire needs some air.
While this is a great quick check and should get the job done for most casual riders going on short trips, if your trip is going to be longer, it’s best to use a tire pressure gauge to guarantee accuracy and safety.
The correct tire pressure should be written somewhere on your tire, so you can check this against the reading on your bike pump.
Adding Air to Your Tires
Before adding air to your bicycle’s tire, take a look at your tire’s outer rim and find the recommended PSI listed by your bicycle manufacturer. Once you have located the PSI amount, pump air into your tire to the appropriate level as mentioned above.
The air pump you use should follow the bicycle industry’s nozzle standards: Schrader or Presta. You’ll have one of these two valves on your tire, which will connect to the pump.
You’ll know if it’s the wrong one because it won’t fit and won’t add any air into your tire. Many bicycle pumps come with both valves attached so they are suitable for all bikes, but not all pumps come with a pressure gauge.
So if you’re looking for a decent bike pump, go for something like this one one Amazon. It fits all bikes using both Presta and Schrader valves, and also has a pressure gauge so you can be accurate with the amount of pressure in your tire.
If you happen to over inflate the tire, take a pointed object such as a screwdriver and gently tap it onto the nozzle of your tire to release air.
Check your Bicycle Brakes
There is no part of your bike you want to be more secured and in good condition than your brakes.
For most rides, you should be able to get away with simply giving your front and back brake levers a firm squeeze, while moving the bike forward and backward while the brakes are on.
The brake should hold the tire firmly and tightly in place. They should be strong enough that when you do this, the wheel lifts off the ground. Then give the brake system a quick analysis for any loose or obviously damaged parts.
If you’re going for a longer ride, or mountain biking, and need reassurance your brakes have full functionality before each ride, take a look at the bike’s full brake system. Here’s how…
Check the Brake Pad Position
Look at each brake pad on your front and back wheel. The pads should be directly aligned with the position of your wheel’s rim. If they make contact correctly when squeezing your levers, your brake pads are fine.
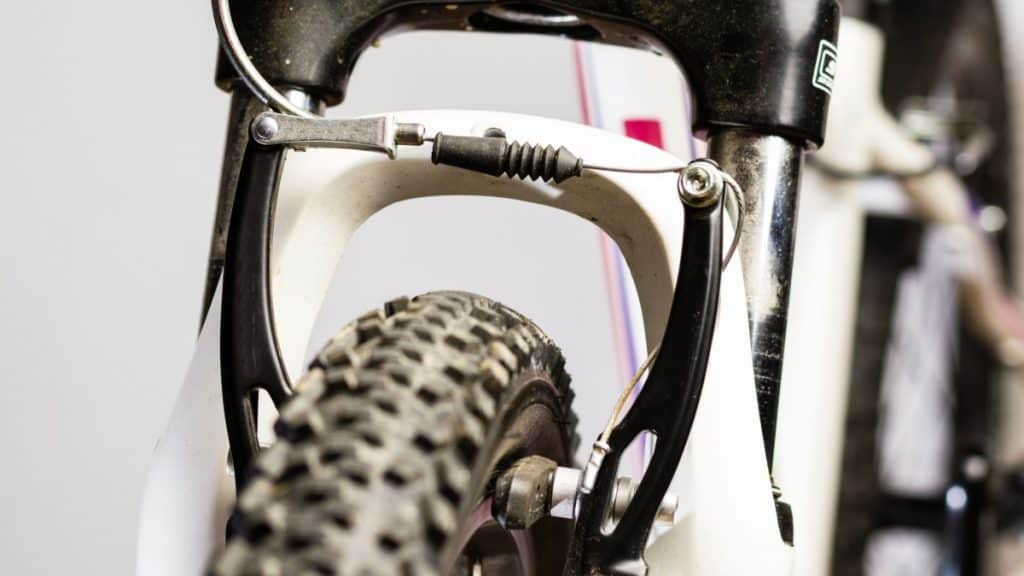
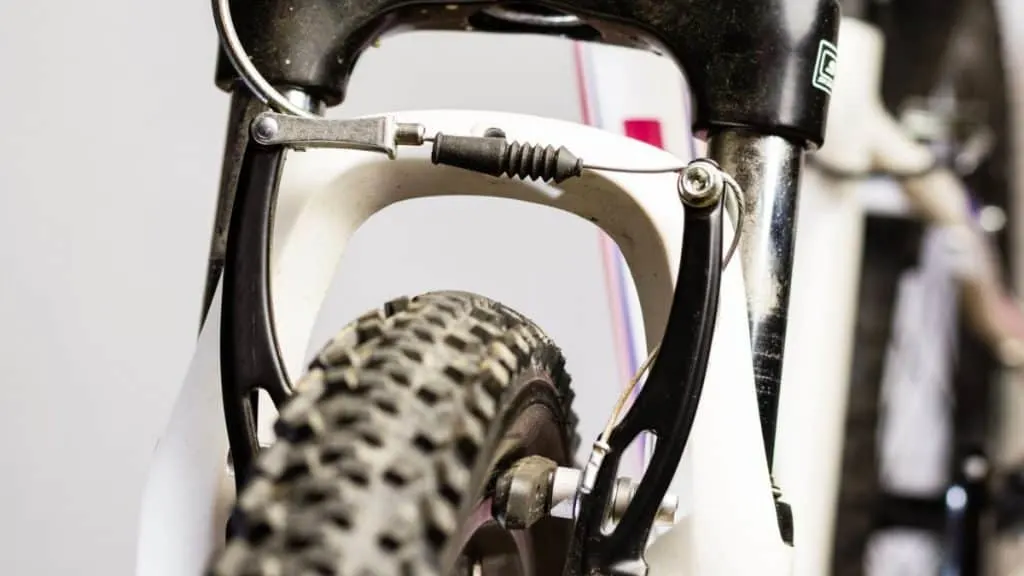
However, if they are misaligned, you can have less functionality of your brakes and potentially even cause a flat tire if they happen to be making contact with the tire. Use a screwdriver to loosen and readjust the brake pads until they are in optimum position.
Check the Brake Housing
Follow the cables that string from your brake levers to the contact point of each brake pad. As you observe the cables and their housing, look for any signs of fraying or damage. If you see damage in the housing, it’s recommend that you replace it before continuing using your bike.
While these parts are available at practically every bike shop, the repairs required may be technical and require a professional to ensure proper installation.
The best way to avoid unnecessary repairs on your bicycle brakes is to regularly check up on them and make sure each component is working correctly. Otherwise, you may end up dishing out more money for repairs than your bike is worth!
Check the Bicycle Chain
Your bicycle chain is what puts everything on your ride in motion. Keeping it healthy and properly fastened will encourage longevity in its use and will help you avoid common annoyances such as chain slips and breaks.
Before you begin each ride, take a look at your chain, and make sure that it is tight and sits well on the gears. If there is no slack as you move the chain, you are good to go.
However, if there is looseness, you are going to want to grab a socket wrench (here’s a great universal one on Amazon) and follow these steps:
- Put your bicycle on a bike stand or simply flip it upside down to stand it on its seat and handlebars.
- Using your socket wrench, loosen the axle nuts located on each side of your wheel.
- Use your feet to put pressure on the seat and grasp the back wheel of your bike.
- Using your socket wrench, begin to tighten each axle nut while firmly pulling on the wheel and making sure it is straight. Go back and forth to each axle nut and tighten it until both sides feel tight.
- Feel the chain for tightness. If you find the chain is still loose, repeat the previous steps until it is adequately fastened.
After you have adjusted your chain, spin your wheel to confirm it is straight, as loosening the axle nuts may have potentially imbalanced its position. If that is the case, loosen the axle nuts slightly and move your wheel back into its proper position.
If, during your chain assessment, you happen to find any rust, you should replace your bicycle chain entirely before riding.
NOTE: Check out my article here for guidance on how to prevent your bike chain from rusting.
Another important thing to check is the weight distribution of your bike. This will help you in choosing the right front and rear tires for it. Here’s an article I wrote on why bike tires don’t come in pairs–and why they shouldn’t.
These quick checks before every ride will ensure safety and joy when riding, but it’s not the end of bike maintenance! In addition to the above checks, you should be giving your bike some regular maintenance too…
Routine Bicycle Maintenance
To encourage your bike’s longevity, you have to give it the attention it deserves regularly; this means taking the time to pay attention to your bike’s simple and complex components and taking immediate action when maintenance is required.
Let’s dive into the routine maintenance needed to keep your bike in excellent condition:
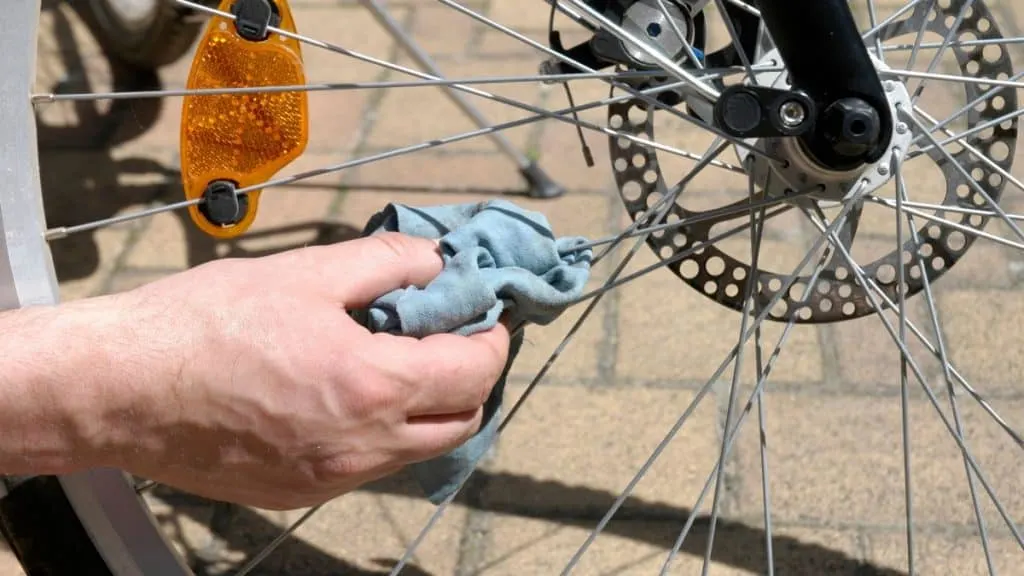
Cleaning a Bicycle
Keeping your bike and its components clean is a great way to increase its performance and lifespan. Cleaning your bike is not rocket science, but you will find that your bike is composed of parts made out of different materials.
Certain parts of your bike do not respond well to the simple soap and water approach for cleaning, as this can lead to damaging your bike; this is something you’ll want to be mindful of; especially if you own an expensive road or mountain bike.
QUICK TIP: Although a mild soapy water is suitable, if you’re worried about damaging your bike, you could opt for a specific bike wash solution like this one on Amazon. It’s a ‘spray on, hose off’ design, making it a really quick and easy solution.
The following steps will guide you through cleaning your bike:
- Before you begin washing your bike with soap and other products, you are going to want to take a dry cloth or soft scrub brush and scrub down your bike to remove any loose dirt.
- If you do not disassemble your bike before cleaning, carefully take lukewarm water mixed with mild detergent and use a clean rag to wipe down any plastic and rubber parts of your bike.
- Once you have finished cleaning your bicycle, polish and finish it with furniture wax.
Protecting the Bicycle’s Surface
While cleaning, you may come across some spots where the paint has been chipped away. If not tended to immediately, these spots can lead to rust. To keep the chrome and metal parts of your bike in good condition, you will want to use a rust preventative fluid like this one (Amazon link) to avoid any damage.

An at-home easy alternative to this is simply using nail polish remover, which will create a protective layer over the chip and prevent rust. And you can use touch-up paint for the other parts of the bike to keep the surface looking pristine.
QUICK TIP: When applying touch-up paint to your bicycle, use a paint pen, and make gentle dabs over the affected area. If you want to conceal your paint job, avoid doing streaks over chipped areas, as this will result in an obvious touch-up.
Lubricating Bicycle Components
To keep your bike running smoothly, you will want to keep it regularly lubricated with the appropriate grease types for each component; this will make a big difference in the longevity of your bike’s health and prove to be very useful for having efficient and safe rides.
It is recommended that you routinely lubricate your bike, such as every one to three months. The frequency will come down to how often you ride; if you ride daily or multiple times a week, it may be best to lubricate your bicycle’s components every other week or so.
For more information about how often to oil your chain, read my article here.
The following components should be lubricated on your bike:
- Chain: Light lube oil
- Brake Levers and Calipers: Light grease
- Brake Cables: Lithium-based grease
- Shifting Cables: Thin layer of grease
The above is the industry standard most bicycle manufacturers recommend you follow for lubricating these different bike parts. However, this can vary; to ensure you are using the correct product and amount, review your bicycle manual, and confirm before you apply, just to be on the safe side.
Recommended Bicycle Lubricant
While professional bicycle mechanics will highly encourage you to use recommended lubricants that are designated for each part, you can get away with using a standard lube oil that can be found in any bike shop and just about any hardware store. This is a perfect solution for general, practical lubricating, such as for your bike chain.
Most lube oils will fall into either a wet or dry category. The type that will suit your riding needs best should be determined by the terrain and climate conditions you find yourself riding in most.
- Wet Lube Oil: If you find yourself riding in the rain or if your bike is prone to getting wet, wet lube oil like this one (Amazon link) will suit your riding needs best, as it will be resistant to moisture. That being said, wet lube oil is prone to attracting gunk that builds where it’s applied. So, keep your eye on its designated areas and wipe off the dirt that builds up.
- Dry Lube Oil: Just as the name entails, dry lube (here’s my favorite one on Amazon) is much better for dry conditions. You will find that it doesn’t get as dirty as wet lube oil and will require far less cleaning. However, if you hit some wet patches on your ride, you will find that it will disappear quite fast.
If you happen to live in an area with diverse terrain and climate conditions, we recommend having both types of lube oil to have an efficient ride in accordance with each season.
Annual Bicycle Maintenance
Some parts of your bike will require far less attention than the immediate ones you check before each ride. While these components are not as demanding, they should not be overlooked.
To ensure these parts are not forgotten, we recommend establishing an annual maintenance checkup for your bicycle. An excellent way to keep the rhythm of an annual inspection in mind is to do so at the start of every riding season.
Here’s what you should be assessing each year on your bike:
- Head Set
- Wheel Bearings
- Seat Stem
- Foot Pedals
- Bottom Bracket
- Saddle (Check out my article here about when to replace the saddle)
These parts should be taken apart from your bike and lubricated with lithium-based grease.
While inspecting and assembling these components does not require a professional, you may want to consider a bike mechanic’s help if you are not confident in your repairs; especially for reassembly.
Check out my article “21 Bike Repair Tools: The Only Ones You’ll Ever Need”
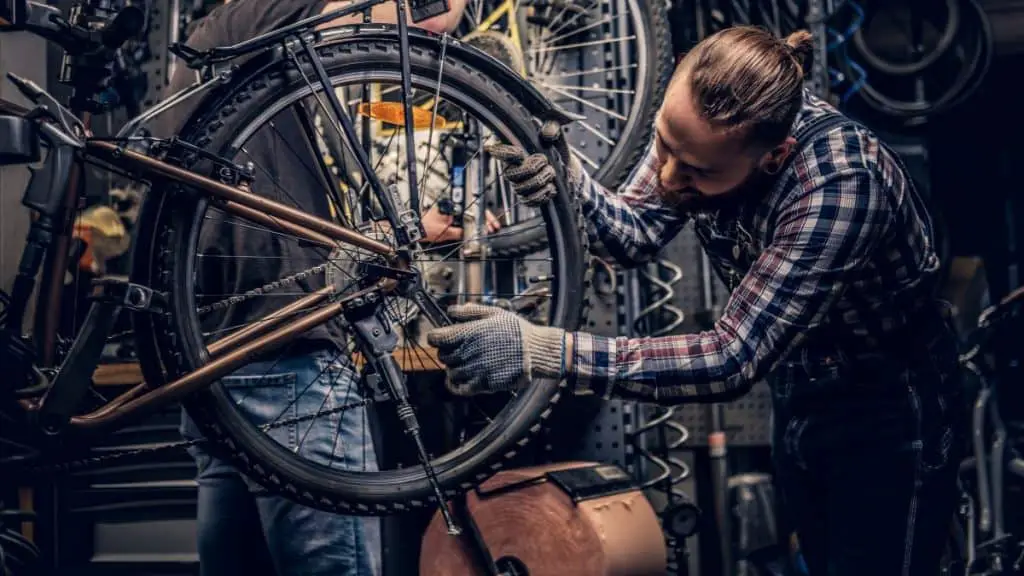
When to Bring Bicycles to a Shop for Maintenance
While there is a lot we can do at home to maintain our bike, you may want to leave some aspects of bicycle maintenance to your mechanic. Even though bike repairs can be costly at times, there is nothing more reassuring and satisfying than hopping on your bike for the first ride of a season after it has been professionally serviced.
These are some common bicycle maintenance repairs you may want to leave to your local bike shop:
- Wheel Truing
- Spoke Replacement
- Hub Replacement
- Annual Service
If you are not confident in doing maintenance on your bike, it’s best to rely on a professional touch for your annual inspection. It’s very common for cyclists to do all the other maintenance at home, but take it in for an annual service at a bike shop.

If you notice that the bike is not responding the way it should or has an apparent malfunction, we recommend you do not continue riding it and see a bike mechanic.
Additionally, if you do end up servicing your bike yourself or even doing technical repairs and are not confidently reassured you have done them successfully, heading to your bike shop for a second opinion is a great resource to have.
Emergency Bicycle Maintenance
Unfortunately, not every maintenance issue you come across is going to conveniently happen during a pre-ride check. Sometimes issues arise with your bike when you least expect them as you are out riding.
While there is little you can do to prevent spontaneous maintenance issues on the road, there is a lot you can do to fix them on the spot. Having a basic maintenance kit on hand as you ride is a great way to avoid having to walk your bike home when you get a simple flat or loose bolt.
We recommend having the following in your roadside bicycle kit:
- Mini Bike Pump: At times when you ride, you may notice your tires don’t quite have enough air in them. Having a small bike pump that you can easily attach to the frame of your bike is an easy solution for a smooth ride and potentially avoiding a flat tire. This is especially handy for mountain bikers in deep trails and long-distance cyclists.
- Patch Kit: There is nothing more frustrating and mood-killing on a beautiful ride than a flat tire. Luckily, there is an easy solution to this; a mini bike pump paired with a simple patch kit to seal the puncture in your tube is a quick fix to getting you back on the road in no time.
- Small Tool Kit: You can’t very well cycle with your whole garage on your back, but you can attach a small tool kit to the stem of your seat. You should customize your tool kit based on how much you ride, but some handy tools most cyclists should keep include an allen wrench, chain tool, multi-tool, small pliers, and spoke wrench.
- Zip Ties: If you are not adept with tools or have a non-essential component fall off your bike during a ride, zip ties are a perfect temporary quick-fix solution. They do not take a lot of room in a tool pouch and are versatile for bike maintenance.
Having an issue come up with your bike while on the road can feel pretty defeating. However, if you are prepared to do maintenance during a ride, you will be ready for most common bike repair issues you roll into.
Check out my recommended gear section for detailed guidance on what you should carry with you during your rides.
Looking after your bike can be tedious, but you have to look at it as an investment. Every bicycle will need some repairs from time to time, but if you put in the effort to do basic maintenance and inspections regularly, you will find it pays off in the end.
To keep your bike in good health, be sure to perform:
- pre-ride inspections
- annual inspections
- clean and lubricate regularly.
If you are not confident in your bike’s maintenance, heading to a bike mechanic is a great alternative.