
If you want to make sure your bike stays in good shape, it’s crucial to change your bike gears regularly. Whether you’re an experienced cyclist or are just getting into the sport, you can learn how to replace the gears on your bike quickly and easily.
The basic steps to replacing your bike gears are:
- Remove the rear bike wheel
- Remove the old cassette
- Clean the freehub
- Slide the new cassette onto the wheel
- Put the lockring back on
- Put the wheel back on the bike
Keep reading for more detailed step-by-step instructions on how to replace your bicycle gears yourself at home. We’ll also cover:
- how often you should change your bike gears
- when its time to replace them
- tips to help your bike gears last longer
Some links on this site are part of affiliate programs, where the site owner is compensated for referring traffic and business to the companies
How to Replace your Bicycle Gears
Replacing the gears on your bike is a crucial part of bike maintenance. It might seem intimidating if you’ve never done it before, but with the right tools, replacing your bike gears can be a quick and simple process.
In this section, we’ll take you step-by-step through replacing your bike gears at home, without a professional.
What Tools Do You Need to Replace Your Bike Gears?
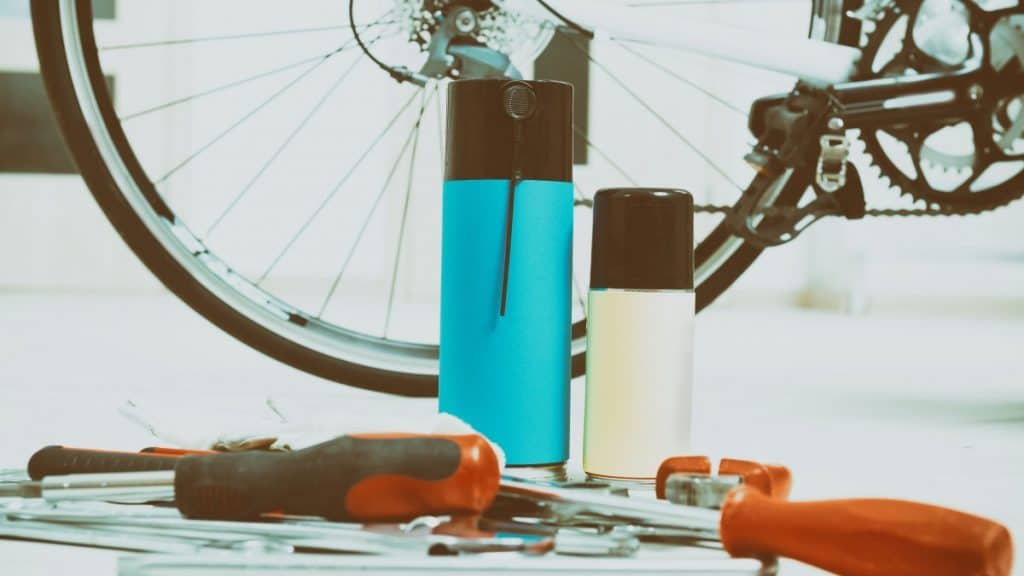
You will need a few tools to replace the gears on your bike, all of which you should be able to find at your local bike or outdoors store. Many of them are also readily available online. (You can click on a tool in the list below and it’ll take you to the tool on Amazon). Here’s what you’ll need:
- A chain whip
- A lockring tool (included with the chain whip link above)
- A large adjustable crescent wrench
- A new set of gears (these will be specific to your bike)
- Degreaser
- Grease
- A cloth (an old rag is perfect)
Check out my Bike Repair Tool Guide for the only Bike Repair Tools You’ll Ever Need to fix or maintain your bike.
You’ll need to make sure your new set of gears (which is often referred to as a cassette) is compatible with your bike chain. So, if you have a nine-speed chain, you’ll need a nine-speed cassette.
NOTE: If not all of your gears are worn down, you might be tempted to switch out only the ones that need changing – but since it can be difficult to match up different kinds of cassettes, experts recommend replacing the whole cassette at the same time.
Step-by-Step: Changing Your Bike Gears
Once you’ve got all the right tools, you’re ready to start changing your gears! Just follow the steps below, and you should be able to change your bike gears quickly and easily.
Step #1: Remove the Rear Bike Wheel
To start, you’ll remove the rear wheel of your bike. Set the wheel at your feet, with the cassette facing away from you.
Step #2: Remove the Old Cassette
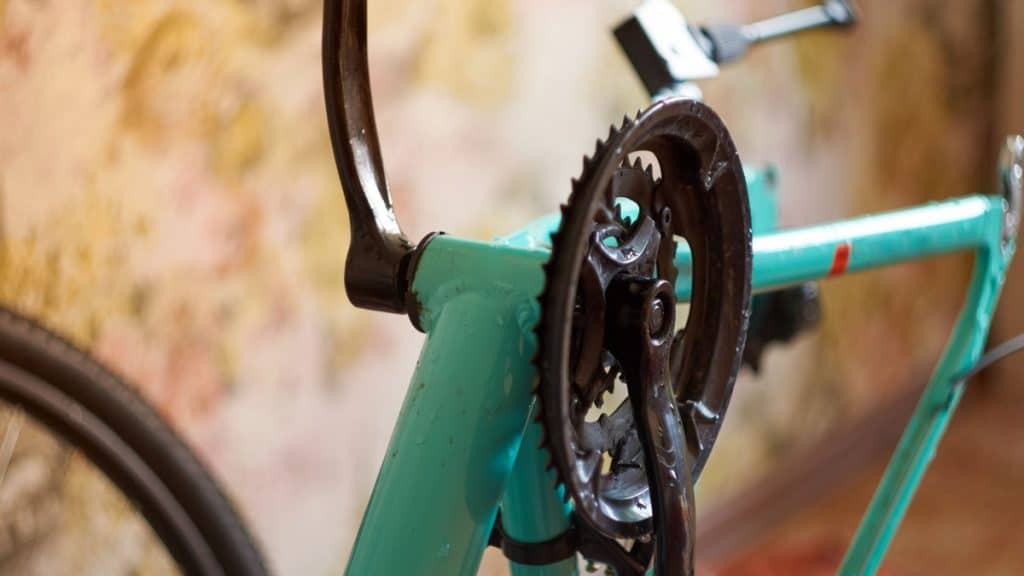
Next, you’ll remove the old set of gears from the wheel. The cassette is a set of concentric gear rings on your back wheel.
Since you’re replacing it, you don’t have to worry about losing any parts of pieces. If you do plan to reuse any part of it, though, remove the cassette carefully.
To do this, put the lockring tool in place and drape the chain whip over the cassette. This way, you can hold the cassette in place as you unscrew the lockring. Then, put the wrench over the lockring tool.
With the chain whip in your left hand and the wrench in your right hand, push down on both sides to loosen the lockring. Unscrew the lockring and remove the old cassette.
Step #3: Clean Your Freehub
Now that the old cassette is removed, you can clean your freehub. Put some degreaser on a cloth and wipe any dirt or grime off of the freehub.
Make sure not to get any degreaser or water inside of the freehub – you don’t want to dissolve the grease that is inside of the freehub. Then, apply a light layer of grease to the outside of the freehub.
Step #4: Slide the New Cassette Onto The Wheel
The next step is to put your new set of gears on your bike. Place your cassette onto the freehub, making sure the largest gears are closest to the wheel of the bike and the smallest gears are furthest from the wheel.
Your cassette will only slide onto the freehub one way – there will be a small line on the freehub that lines up with a slot in the cassette.
Step #5: Put the Lockring Back On
Next, you’ll put the lockring back onto the cassette and tighten it with the wrench. When you’ve heard it click a few times, you’ll know it’s tight enough.
Step #6: Put the Wheel Back On The Bike
The last step is to put your bike wheel back on. Make sure to test that your gears shift normally. Once you’ve made sure your new cassette is working as it should, you’re all set!

How Often Should You Replace the Gears on Your Bike?
Now that you know how to replace the gears on your bike, you might be wondering how often your bike needs a new cassette.
A good general rule is to change your cassette every 1000 miles that your bike is ridden.
But, depending on your environment and the amount of wear on your gears, you might need to change it more often. Things like moisture, humidity, and sandy soil can contribute to wear.
- Moisture can damage your gears. And it can wreak havoc on other parts of your bike. So, if you live in an especially humid place, or if your bike gets wet pretty often, you’ll want to change or at least clean your cassette more often to protect it from rust.
- Sand can also be harmful to your bike. It can cause the gears on your bike to wear down more quickly, so if you live in a place with sandy soil, be extra aware of the condition of your cassette.
How Can You Tell if Your Gears Are Worn Down?
It’s a good idea to keep an eye on how worn your gears are so that you know to change them once they’re too worn down before they start affecting your riding.
The teeth on your gears should be flat at the top, so if they’re pointed like shark fins or entirely rounded on the tops, that means your gears are worn out and in need of a change.
NOTE: For a more detailed guide on exactly how to tell when to replace your bike gears, check out my article here.
What Other Maintenance Does Your Bike Need?
Keeping your gears in good condition is an important part of taking care of your bike, but it’s not the only element of bike maintenance.
In this section, we’ll go into some other elements of bike maintenance that you should be aware of, like taking care of your bike chain and getting your bike serviced regularly.
Your Bike Chain Affects the Gears
Taking care of your bike chain is just as important as replacing your bike gears. Your chain and gears work together – so if your chain is worn out, your gears will be worn down faster, and if your gears aren’t in good condition, you’ll wear your chain out more quickly.
Experts say that you should replace your chain twice as often as you replace your gears – so a good rule of thumb is to replace your chain every 500 miles. It’s considered good practice to replace your bike chain every time you replace your gears.
Bike Tune-Ups Help Keep your Bike at its Best
If you ride your bike regularly, it’s probably a good idea to take your bike to a mechanic once or twice per year for general tune-ups and servicing.
While it’s relatively easy to learn to chain your bike gears and chain at home, a bike mechanic can make trickier repairs on things like your bike’s spokes, derailleur, and cables.
Check out my article here to learn what happens if you cycle with a broken bicycle spoke!
It doesn’t take a lot of time or money to replace your bike gears – if you follow the steps in this article, you’ll be able to change out your bike cassette at home, quickly and easily.
By replacing your bike gears often, you’ll be able to increase the longevity of your bike and improve the quality of your rides.
If you’d like to get your bike gears replaced professionally, check out my article here to get a break down of what it may cost depending on the specific gear problem you may have.