When you think of biking, you think about actual biking and exercising, and fun – not sitting next to your bike, beside the road frustrated. All because your bike spokes keep getting loose and no matter how tight you fasten it; it still comes loose.
The main reason why bike spokes get loose is that there is either too little tension in the wheel, or that the tension in the wheel is uneven. Tightening the spokes will keep the rim straight and create a strong structure. In contrast, if the spokes are too loose, it will cause the wheel to wobble.
Bike spokes are designed to support the wheel rim by tension adjustments – the tightening or loosening of the spoke nuts. There are a few reasons why bike spokes get loose, and in this article, we will break them down for you.
2 Reasons Why Bike Spokes Get Loose & How to Fix It?
Reason 1: The Spoke Nut is Tightened Too Much
Spokes can get loose from hard landings or bumps, which will lead to having to tighten the nut of the spoke. Although, many bike riders tighten the spoke without considering the tension, or pull, that it causes on the spokes of the rim on the opposite side.
This can happen very easily when you simply tighten the spoke nut on your wheel without knowing how tight it should be, and without ensuring that all the nuts are fastened at the same tightness.
What happens now is that the spokes on the opposite side of the wheel will loosen, because the tension pulls the too tight portion of the wheel rim to the hub.
What to Do When The Spoke Nut is Too Tight?
If you find yourself in such a predicament as mentioned above, the best thing to do is to make sure that all the spoke nuts are tightened evenly on the complete rim.
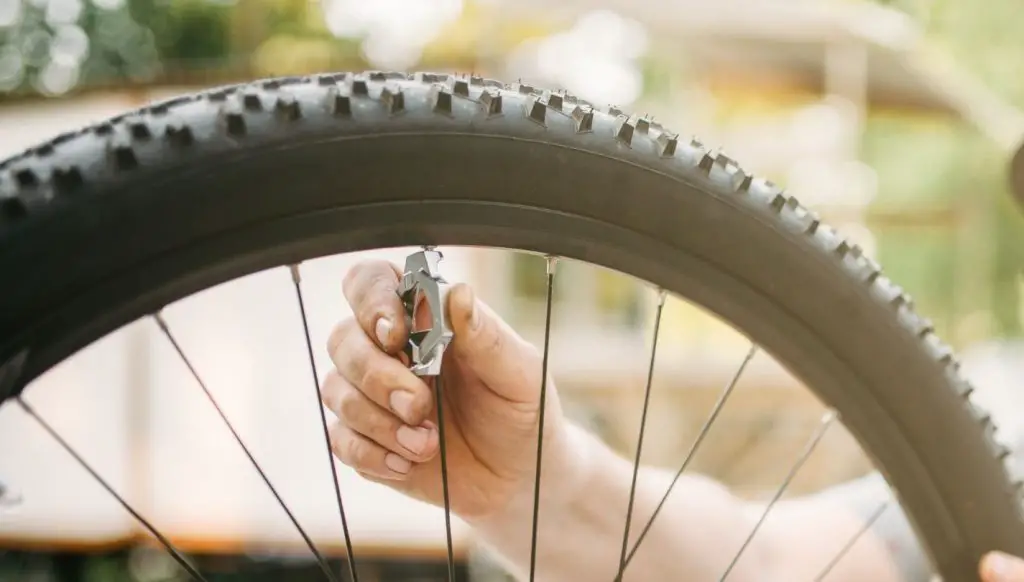
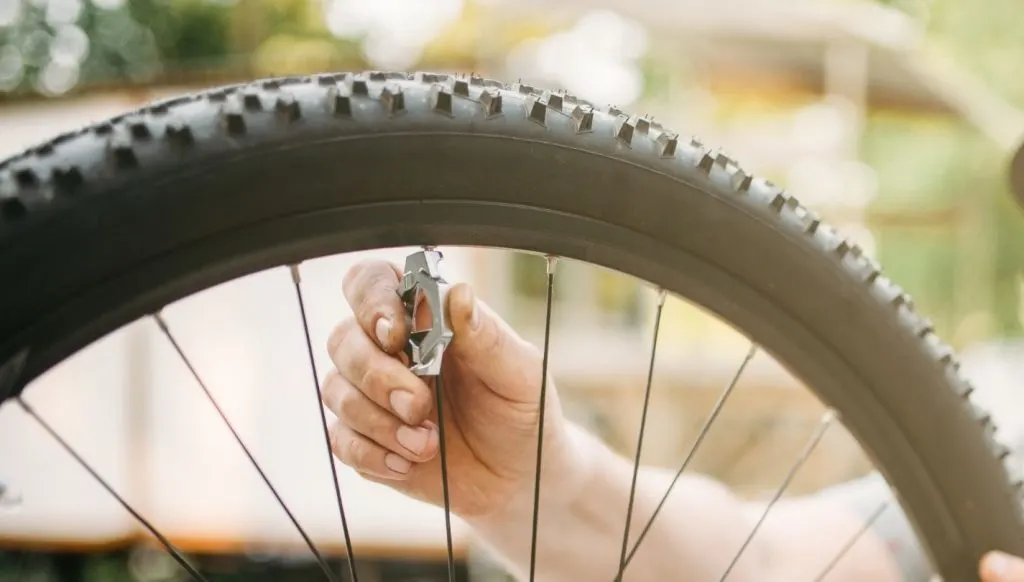
Using your spoke wrench, you can easily do this by yourself. If the problem persists and you can’t seem to find a solution, take the bike to a bicycle wheel builder – they use a tension meter to ensure that the spoke tension is consistent throughout the entire wheel.
Here’s a good spoke wrench (Amazon link) to keep handy so you can adjust your bike spokes anytime and anywhere. It’s an 8-way tool so it can be used on all of the common nipple sizes. It’s also made of tough 9H hardness hard steel.
Reason 2: Dents and Twists
Bike wheels can get dents and twists in the wheel due to rough terrains. A twisted rim is a lot easier to get than a dented rim, but a dented rim is easier to spot.
Even though a twisted rim is only out of true with about 2mm, which is difficult to notice, it still makes a big difference in regards to the spokes.
Spoke lengths are specifically made to the diameter of the wheel rim, and if the wheel gets a dent or get twisted just a little bit, the spoke in the area of the dent or twist is too long to be tightened
What to Do About Dents and Twists?
Attempting to tighten excessively loose spokes may lead to stripping the threaded end or even the threads in the spoke nut. One must either be quite familiar with fixing bike wheels and trueing spokes to get the job done well.
If this is not the case, take the bike to a professional wheel builder – they will give you some good advice and fix your bike up pretty neat. Even experienced bikers sometimes turn to professional wheel builders to fix their bike problems.
How to Know if Your Spokes Are Too Loose?

Most of the time it will be the spokes nipples that are too loose. When the spokes rattle, it provides nearly no strength to your bike’s wheel structure – this has the same effect as a spoke that is missing or broken.
When the bike wheel is out of true, the rim will deform as it loses its perfect shape. This will cause the bike to make a rhythmic sound.
Most people might think that it is the brakes causing the sound, but in essence, it is the spokes that are pushing the tension more to the opposite side of the wheel.
If the spoke tension is too tight, the spokes can snap or bend due to the extra pressure on the too-tight spoke nuts.
The recommended tension on bike spokes is between 80-kilogram force (KGF) and 230-kilogram force (KGF), depending on your specific type of bike.
QUICK TIP: The golden rule here is that you want to set the tension as high as the weakest part of your wheel, which is the rim.
Steps to True a Bike Wheel:
One can true your bike wheel at home perfectly fine, without taking your bike to a wheel builder – let us familiarize you with the process of truing a bike wheel and what is needed:
Tools Needed to True a Bike Wheel:
- Mechanic Truing Stand
- Triple Spoke Wrench
- Spoke Holder for Bladed Spokes
- Bike Repair Stand
Step 1:
You can either take your wheel off, and put your bike on the truing stand, or, you can keep the wheel on and put the bike onto your bike stand to use the brakes as guides. Here is a good option for a bike stand (from Amazon) to make your bike repairs and maintenance easier.
Step 2:
Begin to slowly spin the wheel while tightening the brakes (still spinning), until a section of the wheel makes contact with the gauge.
The twist or buckle will be the section where the spoke nipples need to be tightened. Start with the big wobbles first, so you can calmly check the smaller wobbles and save the fine-tuning for last.
Step 3:
Now, identify the nipple that needs tightening. Then, turn your rim so that the spoke that needs work on is in the center – it just works easier like that.
If your spoke is loose on the right side, locate the nearest nipple attached to the left side of the hub (the opposite of the brake pad or gauge lever it is touching). When you tighten that it will pull into place – one full turn will do the trick.
Step 4:
When turning the nipple, you turn it counter-clockwise to tighten the nipple and the opposite direction to loosen it. Remember: “Righty-tighty” and “lefty-loosy”.
Even if the nipples are hidden and you have to remove the wheel first to get to the nipples – the same principle goes for the hidden spokes too.
Don’t worry too much about the process if it is your first time. The worst mistake that you can make is to over-tension the spoke nut, and that can lead to a snap of the spoke, but it will not damage your bike permanently.
Below is a great video that shows you the entire “step-process” visually:
Conclusion
Cycling is an amazing sport, you get great exercise and you get to see nature all around you. As with all sports, there will be some frustrating things about it. Now, you will be able to sort out your spokes if they ever come loose again.
Luckily, spokes coming loose is not a regular occurrence. One can generally check-up on the spokes only once a year and you are good to go. You do not need to check it every time you want to go out for a ride.
Here is a guide I wrote on the most important things to check before every ride, as well as other maintenance tips.
Alas, if you struggle, please feel free to go to your nearest bike store – they are always a great help and will sort you out in a matter of minutes. Happy biking!