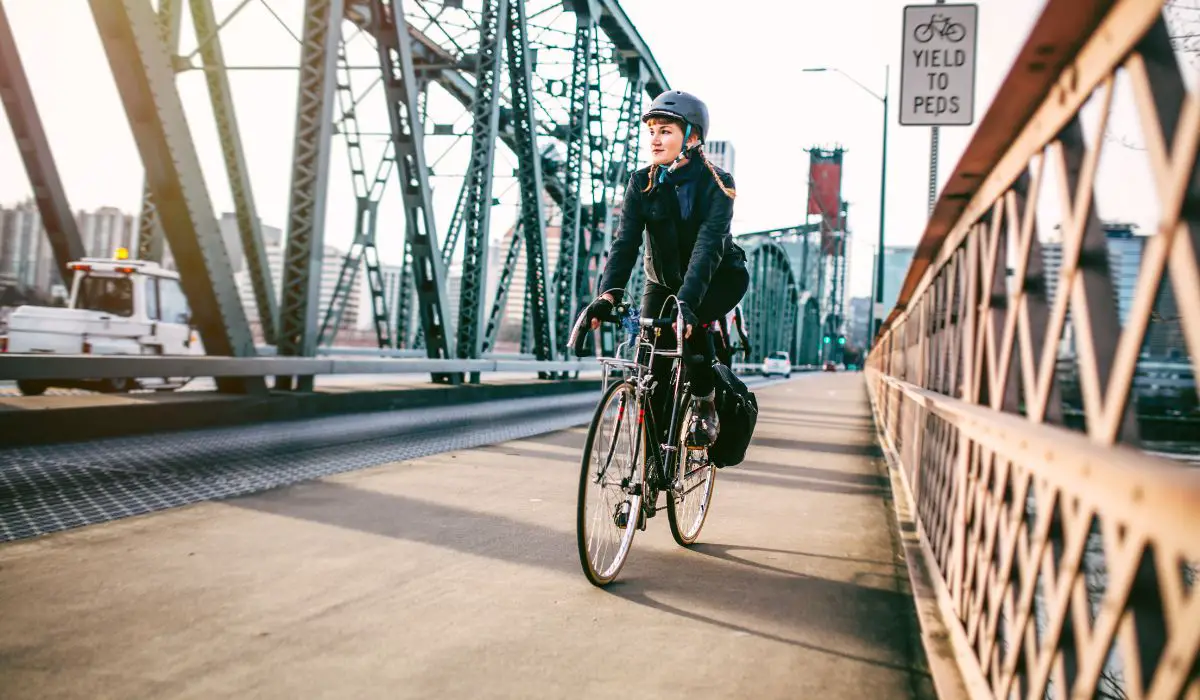

Changing your lifestyle can be very difficult, especially when it comes to parts of daily life. However, over the past decade, many people have opted to use the bicycle over a car as their primary method of transportation in hopes of bettering the environment. If you want to pursue the same goal as hundreds of thousands of others have across the globe, I have provided a myriad of tips to get you prepared!
So, what are some things to should know before commuting on a bicycle? In short, there are a few main preparations that are essential for a smooth bicycle commute:
- sufficient storage space for belongings
- lights to be visible as possible on the road
- travel necessities for an enjoyable experience
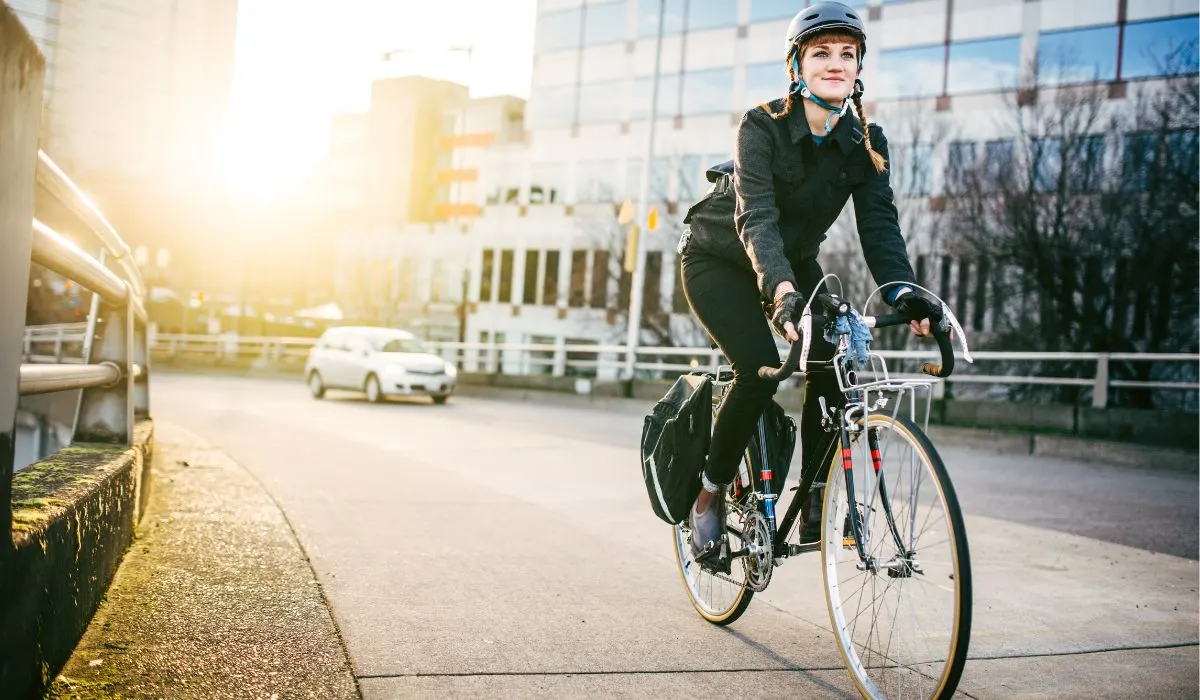
When it comes to cycling in the city with your trusty bicycle, there are also some extra steps to take to make the experience more efficient. Read further for an in-depth guide to bicycle commuting, as well as a few extra tips and tricks!
What to Bring on a Daily Bicycle Commute?
When it comes to a daily commute to work or for errand runs, there are mandatory necessities that should be readily available at all times. This includes:
- Appropriate storage systems to carry your luggage. Contrary to common belief, there are actually a lot, and I mean a lot of options when it comes to bicycle storage. Depending on the type and weight of the load, there is a different optimal storage system.
- Bicycle light sources and reflective gear. These are absolutely crucial for visibility and safety and are even recommended for use during the daytime. Lights are actually also mandatory for cycling in times with low light in many:
- countries
- states
- provinces
- Locks, to keep your bicycle safe and secured. This is necessary to temporarily leave your bicycle unattended, for the day while you work or to run indoors for a quick errand. Likewise, you would need a good, reliable lock to prevent the possibility of theft.
- Travel necessities. This can vary depending on the purpose of the commute and the conditions that you may be cycling in. For example: to cycle in the rain, a raincoat is necessary.
Choosing the Right Storage System When Travelling By Bicycle
In order to carry necessary belongings on a cycling commute, choose:
- A bicycle rack with sufficient carrying capacity to support the items.
- A compatible storage system that can reliably hold the items, and keep them safe from the elements.
When searching for a bicycle rack, the most important thing to consider is the type of cargo you plan on carrying. While some are ready for heavy-duty work, some are designed only to carry light loads.
Generally, there are two different varieties of bicycle racks:
- Rear Bicycle Rack
The rear bicycle rack is usually designed for larger loads and is reliable and sturdy. Usually, they are designed to support around twenty to fifty pounds of luggage.
NOTE: The weight-bearing ability can vary depending on which model or brand you choose to purchase. If required, there are even some rear bicycle racks made for heavy-duty carrying jobs that are capable of holding over eighty pounds.
- Frontal Bicycle Rack
The other option available to you is the frontal bicycle rack, a smaller rack designed for lightweight cargo. Usually, cyclists use frontal bicycle racks to carry the essentials:
- water bottles
- wallets
- phone
Keep in mind that some cyclists like to use the frontal rack in conjunction with the rear one, for more options.
There are two types of frontal racks available to you.
- Standard Frontal Rack
Because frontal racks are capable of hanging cargo to the sides and the front of your handlebars, it greatly expands the carrying capacity of your standard frontal rack.
- Lowrider Frontal Rack
The low-rider frontal rack is only able to hang cargo to the sides of the bicycle. While it is not as large as the standard frontal rack, it improves the balance by carrying the cargo lower to the floor.

Bicycle Storage Systems That Attach to a Bicycle Rack
After choosing a bicycle rack for a daily commute, there are a variety of possible bicycle bags to hold belongings. Below is a list of common bicycle storage solutions essential for commuting in the city:
#1: Panniers
Panniers like these sold on Amazon are the most popular bicycle packs for cyclists available. They are typically designed to give cyclists extra room to carry their belongings with them. Usually, panniers can carry forty to sixty pounds with approximately fifteen to twenty liters of volume.
Cyclists usually use these bags to carry:
- necessities
- extra clothing
- bike gear
- essential tools
NOTE: Panniers are usually water-resistant and easy to remove and use as a backpack as well.
#2: Baskets
Baskets like this one from Amazon, are the next most common option when it comes to storage solutions for daily commutes. In comparison to panniers, baskets have smaller cargo capacity and are not capable of holding large amounts of weight, but they are capable of holding longer items.
Baskets can mount either on the front or the back of your bike. Front baskets are typically smaller in size than rear baskets as they are meant to be used on your handlebars. Like panniers, they are also easy to mount and dismount.
NOTE: It is only recommended that you opt for the use of baskets if you consistently have light luggage.
#3: Saddlebags
Saddlebags like this one sold on Amazon, get their name from their position on the bicycle and are also known as:
- seat bags
- saddle packs
- under seat bags
They are meant to be attached to your bicycle seat, just under where you sit. This storage solution is only recommended for those who carry small loads. Saddlebags are more difficult to remove and reattach.
#4: Handlebar Bags
Handlebar bags like these on Amazon are designed to connect to bicycle handlebars with ropes or bands, giving simple and straightforward access to belongings and cargo. Some models even offer a contraption for cyclists to place and use a map or GPS while riding.
#5: Rack Trunks
Rack trunks like this one sold on Amazon are smaller than panniers but larger than saddlebags. They are a reliable middle-ground in terms of storage solution sizes. Rack trunks function very similarly to backpacks.
They have many compartments and sections to help organize items, offering large amounts of space. Some models even have plastic covers to ensure that belongings are safe from the rain and snow.
#6: Frame Bags
Frame bags like this one on Amazon are quite similar to handlebar bags in terms of their miniature size. They are meant to carry small, fundamental cycling equipment such as:
- snacks
- sunscreen
- phone
Frame bags are located in an easy-to-access location and can be reached during a ride. There are larger frame bags that can be used on longer rides or commutes to store water bottles and essential bicycle tools in case of emergency.
Lights That Attach to a Bicycle
When selecting a bike light, regardless of whether you are cycling during the day or during the night, avoid lights that are too bright. The brightness depends on where you intend to ride.
If the light source is excessively bright it can blind approaching cars and trucks on the road, putting you in a vulnerable position. Although they can see that there is a bike ahead, the vehicles will not be able to perceive the distance between yourself and them, nor your location on their path.
While the law does not usually state the necessary brightness, there is a suggested system to follow. It is very strongly recommended that you review these figures prior to making a purchase.
- Urban areas with streetlights: fifty to two hundred lumens
- Rural regions where streetlights are limited or unavailable: four hundred to six hundred lumens
- Isolated bicycle trails with total darkness: larger than six hundred lumens
It is also highly recommended that you use a USB-rechargeable light. They are more radiant than conventional bicycle light sources giving greater visibility. It is also recommended to bring an additional bicycle light as a backup.
Below is a list of bicycle lights available:
#1: See Lights
These lights found on Amazon enable you to see the path while riding in low-light situations. These lights are usually luminous enough to see a large distance ahead, giving sufficient time to react when necessary.
See lights also help with visibility, but keep in mind that they can be big and heavy and can have poor battery life.
#2: Visibility Lights
The goal of these lights is to ensure that you are noticeable to other parties on the road. Visibility lights like these are designed to declare your presence to others on the road.
It’s essential that they are able to highlight your visibility from both the front and the rear. It is recommended that your front light is white, while your rear light is red.
#3: Side Lights
A cyclist’s visibility from both sides is also necessary, especially at intersections and junctions in urban areas.
There are lights that are designed to fasten to bike wheels like these sold on Amazon that illuminate when they turn. When searching for bicycle lights, it is recommended to look for 180-degree visibility.
#4: Helmet Lights
Helmet lights like this one sold on Amazon are small and designed to clip on. These lights offer extra visibility that is nearer to the eye level of cars. It also allows the parties on the road to identify your actions.
NOTE: A helmet light alone is insufficient, it is recommended to use a helmet light in conjunction with the front and rear lights.
#5: Daytime Lights
Many daytime lights like this one on Amazon have a “flashing” setting, which can grab the attention of drivers. Some daytime lights even have sensors that will make the light flash brighter and in more frequent intervals the closer another vehicle gets, and flash during turns.

Travel Essentials for Cycling
#1: Water
When commuting by bicycle, the most important thing to bring is water. When riding long distances, proper hydration prevents:
- over-exhaustion
- nausea
- dehydration
However, don’t bring too much water, it will only weigh you down.
#2: Bike Lock
Bring a sufficient bike lock. Even to run a quick errand, do not take the risk! Lock your bicycle securely and safely in order to prevent the possibility of theft, especially to leave the bike for extended periods of time.
Typically, these locks are designed with a narrow cable made out of metal, and loop around the bike frame or wheels and then through an exterior rail.
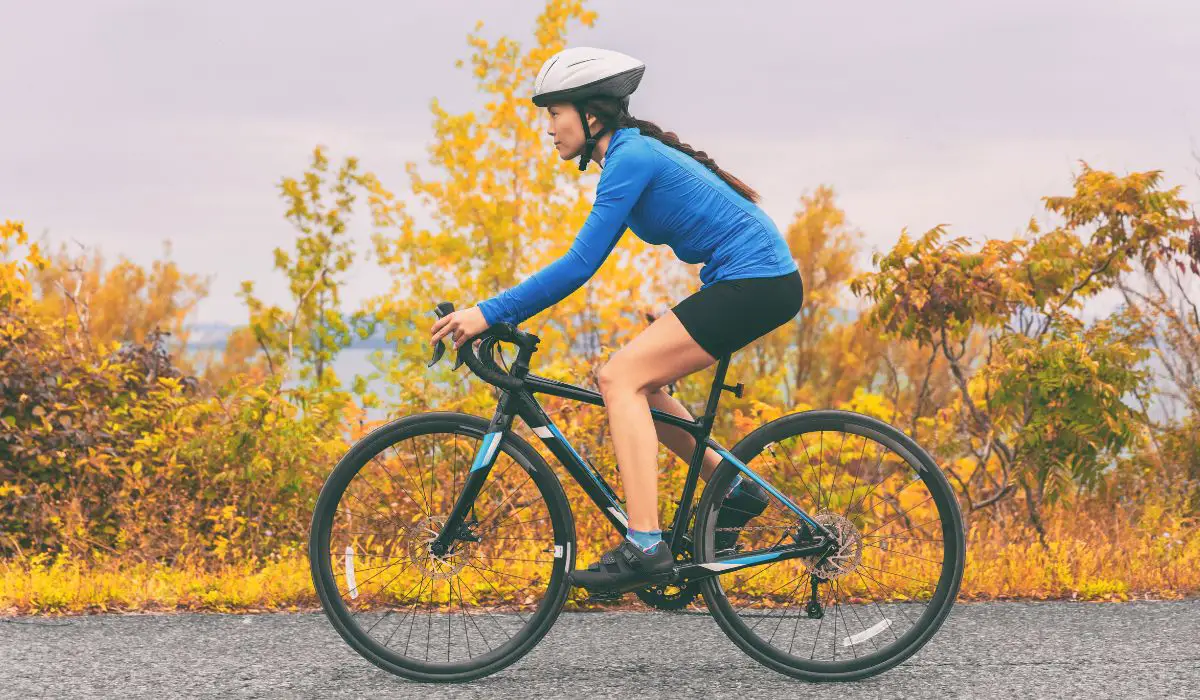
#3: Cycling Shorts
If your commute is a long-distance ride, invest in a pair of cycling shorts as they significantly lessen the ache and discomfort from the seat.
There are two different models available:
- Bibs are cycling shorts with attached suspenders. While more expensive, they are much more comfortable.
- Shorts are almost identical to the everyday shorts that you wear but are equipped with padding and anti-chafe fabric.
For more detailed information on which cycling shorts would be good for you, or if in fact you even need them, check out my other article here.
#4: Toiletry Kit
Bring a kit of toiletries to freshen up after cycling to your destination. Keep these items:
- readily available
- easily accessible
- clean
These items are intended for a swift cleanup, below is a list of recommended items for your kit:
- Baby Wipes do a very good job of cleaning the body and face following a sweaty ride. They are:
- absorbent
- aromatic
- do not leave excess residue
- Towels can be used for the same job, a camping towel like this one sold on Amazon is extremely efficient. However, they do not have the same sanitizing abilities that other products may have.
- Deodorant stops the odor that is caused by sweating from exercise, and some can be used on all parts of your body.
- Dry shampoo is an efficient and effective product when it comes to removing oils, and sweat after a long cycling session. Don’t forget a comb or brush to neaten up your hair after the cleaning!
Extra Tips For a Bicycle Commute
Here re few things I have learned to do during my bicycle commute that help out trememdously…
#1: Revise Your Route
Ensure that your cycling journey is as short and productive as can be by planning to ride on streets that are less crowded and have less traffic. If possible, use routes that have special paths or cycling lanes.
Revising the route prior to commuting will grant confidence when navigating through busy streets, and gives you enough time to get to where you need to be.
#2: Aim to Wear Reflective Items
Although cycling regulations do not require that you wear shiny or reflective apparel, it is strongly suggested that you do so to ensure you are as visible as possible.
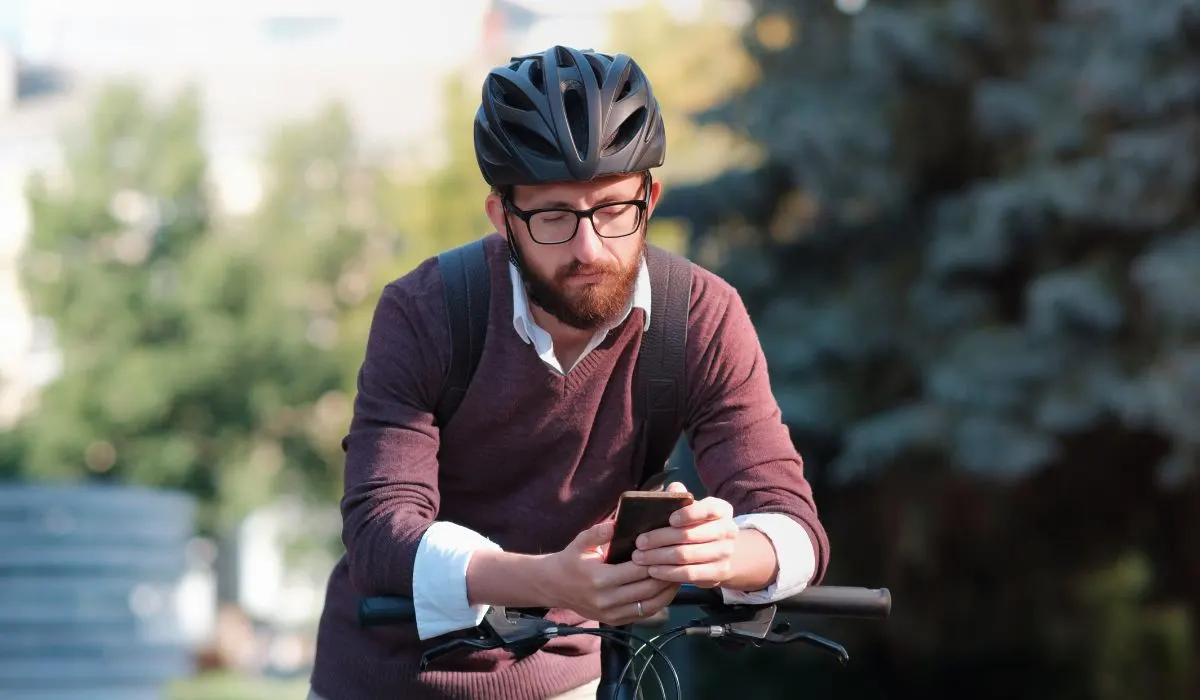
#3: Use Hands-Free Gadgets
Invest in gadgets that connect to your bicycle if needed. For example, some gadgets are able to signal when a vehicle is coming up to your rear.
#4: Walk Your Bicycle
When traveling through a busy or crowded street, walk your bicycle to prevent any unfortunate accidents. Safety is the number one priority, especially when cycling.
#5: Follow All Traffic Laws
Although this is quite straightforward, it should definitely be mentioned. Even if you are tight on time, take it slowly and do not violate any laws.
#6: Do Not Use In-Ear Music Players
Using earphones or headphones can limit your hearing abilities for:
- oncoming traffic
- sirens
- signals
Ensure that all your senses are readily available to you at all times.
#7: Attach Lights on Helmet or Handlebars
While not mandated by cycling regulations, it is strongly suggested that you take measures to be as visible as possible to cars and trucks sharing the roadway to reduce unfortunate accidents.
#8: Do Not Ride Too Fast
The benefits of this tip are twofold.
- It gives the other parties on the road sufficient time to react to your presence and gives you space when cycling. This is especially important on busy or large roadways.
- It gives the cyclist enough time to react to cars and stop if needed.
#9: Bring a Backup Light
While unlikely, your current bike light could break down or fail. In that case, you will need a replacement light to ensure that you stay clear as day on the road.
#10: Use a Helmet
In a majority of places, adults are not mandated by law to use a cycling helmet; only children under various ages are required to do so.
However, it is very strongly suggested to use a cycling helmet when commuting. If the event of an accident, a helmet drastically lowers the probability sustaining permanent or catastrophic damage. It can even greatly increase the probability of your survival.

Final Thoughts
If you read through this guide and made all the necessary preparations, changing your lifestyle to commute by bicycle may not be as daunting as it first seemed.
Although there are various things to prepare and pay full attention to, it is quite simple once you get the hang of it. It is always worth double checking to ensure that you have everything needed.
Take your time and ride safely! At the end of the day, remember that safety is a number one priority, not your boss’s angry comment if you arrive five minutes late!
You might also be interested in: